Played a couple of linked games with our friends @hereticalarchitect and @mysterion_painting. With thanks to their contributions to this blog too – check them out on Instagram.
While the Loyalists were able to successfully extract General Sheev Verox from the outskirts of Nova Kharkiv, they still pulled back from the ferocity of the Traitors’ initial assault.
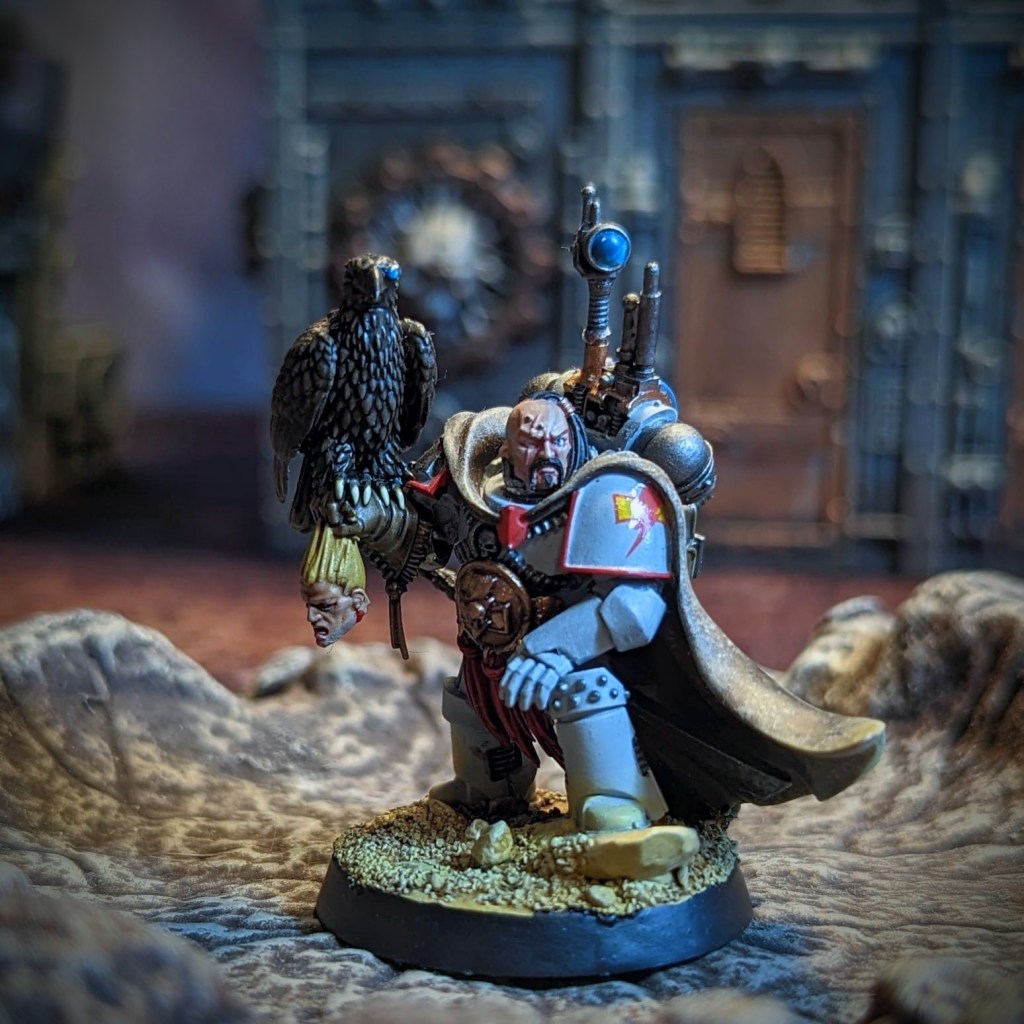
Verox needed time to bring the weight of her forces to bear as the 2nd Army was still deploying from orbit. Meanwhile, on world the Ultramarines were securing Krapreen to the South and the Raven Guard were off on their own agenda. Moross was too important for the loyalist counter-assault across the Sub-sector and it’s capital couldn’t afford to fall.
Operation Shellstorm
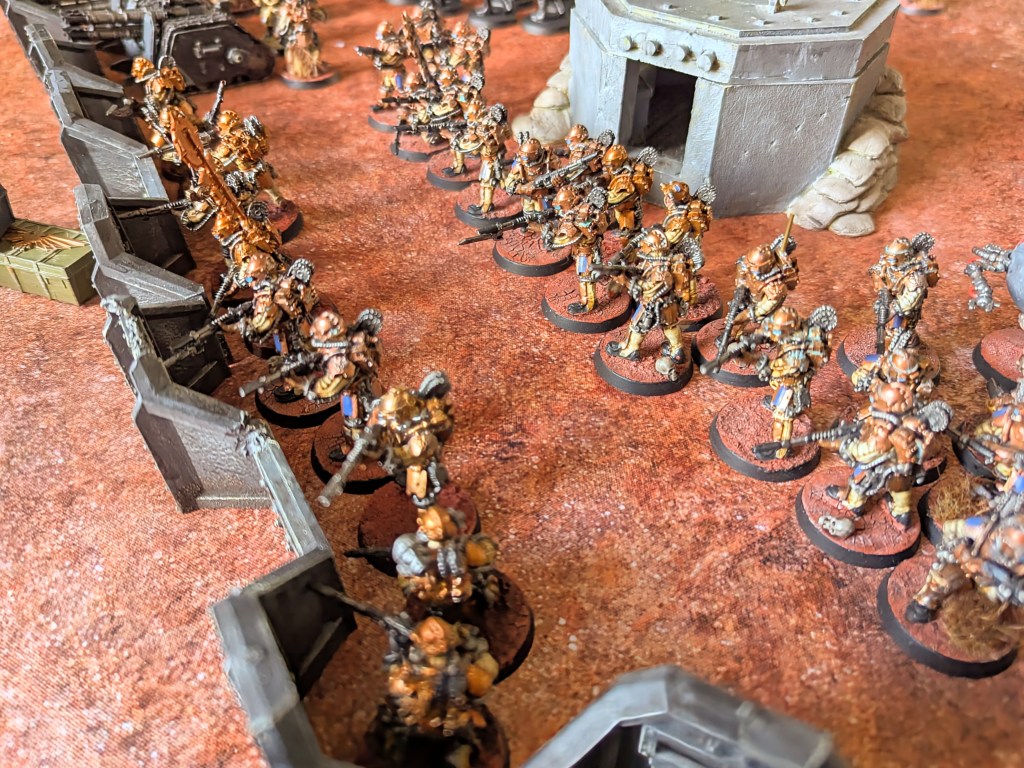
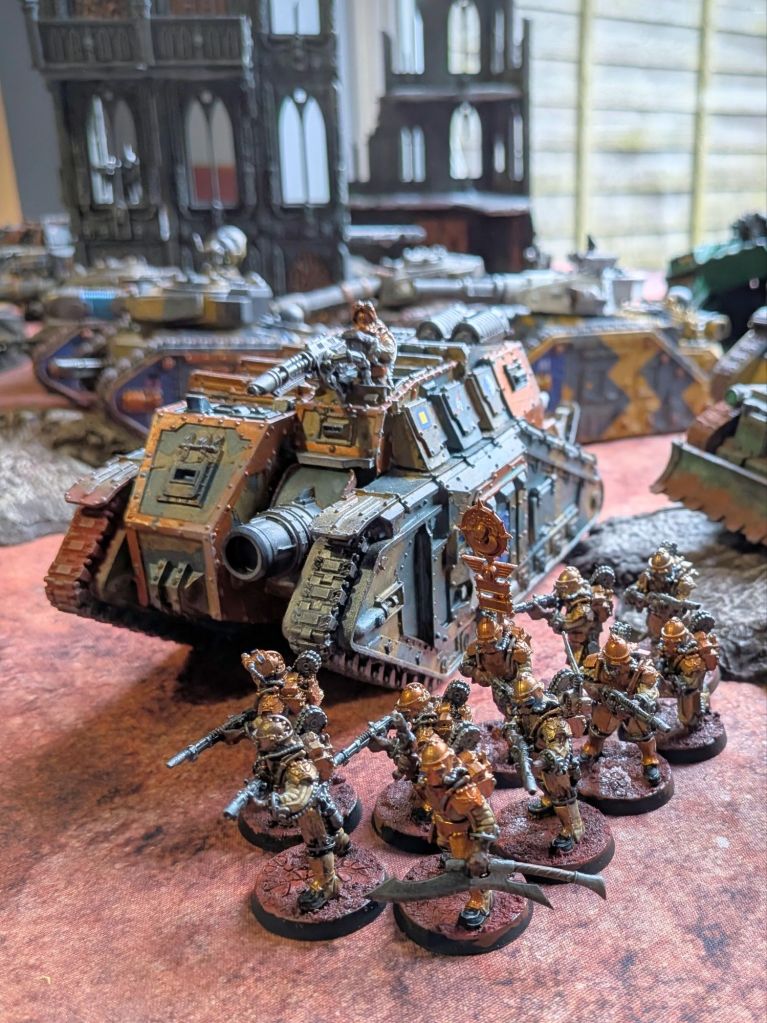
To give the rest of her forces time, Verox used the primary military asset she had to hand – the 1212/824 mechanised sub-cohort. Their orders were simple – dig in along Supply Route Delta and hold off against the full might of the traitor force.
Being a mechanised force, 1212/824 was ill suited to protracted defensive operations in a built up area, but there was little option. If the Solar Auxilia could stall the traitors long enough, it would give other Loyalist forces time to gather and present a proper opponent.
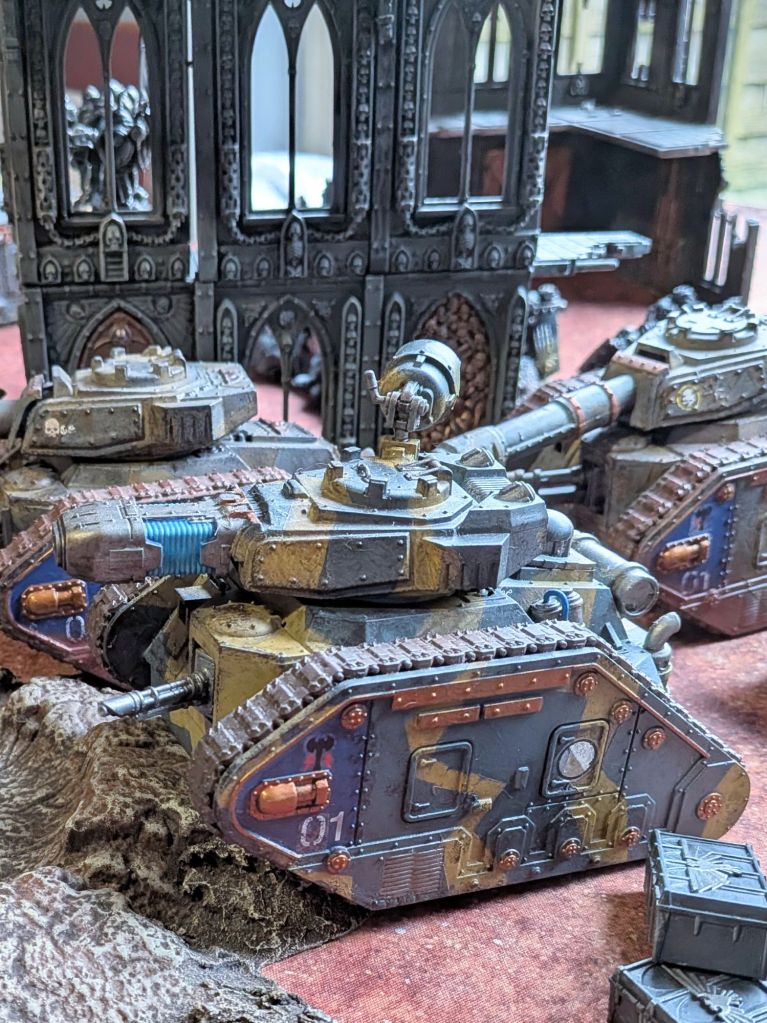
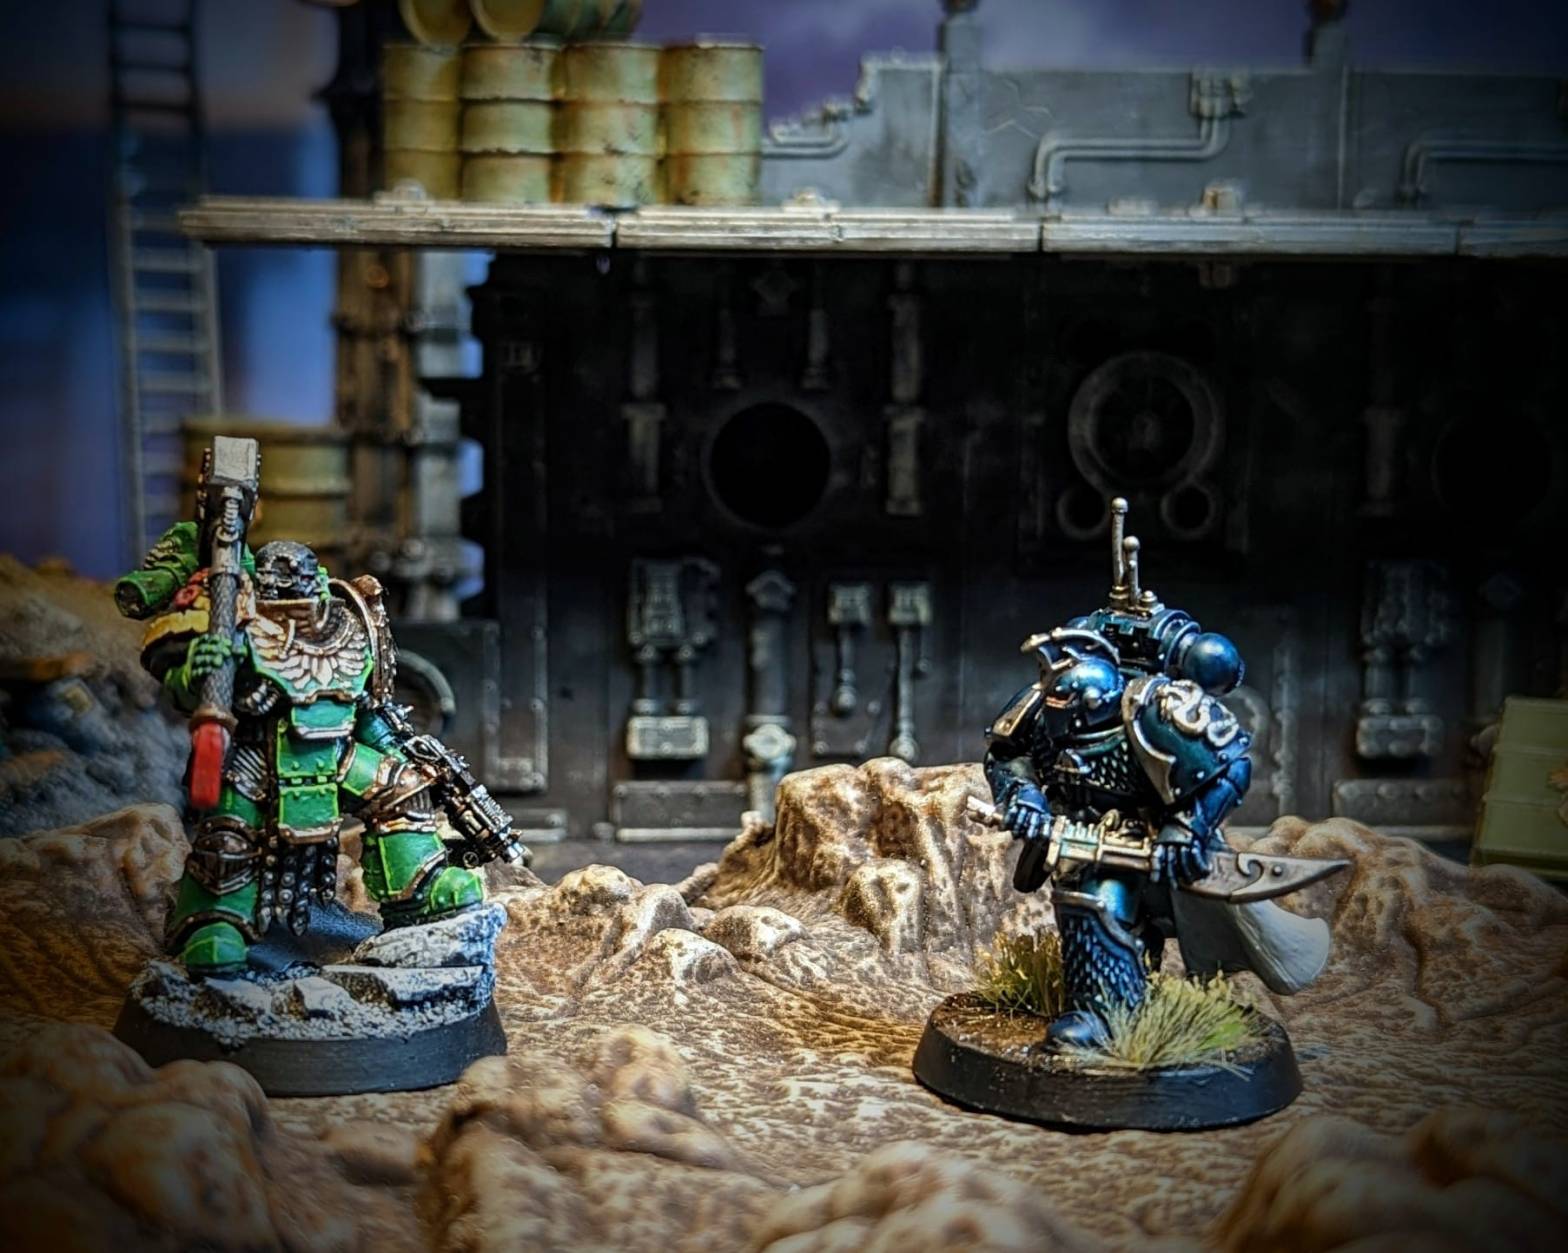
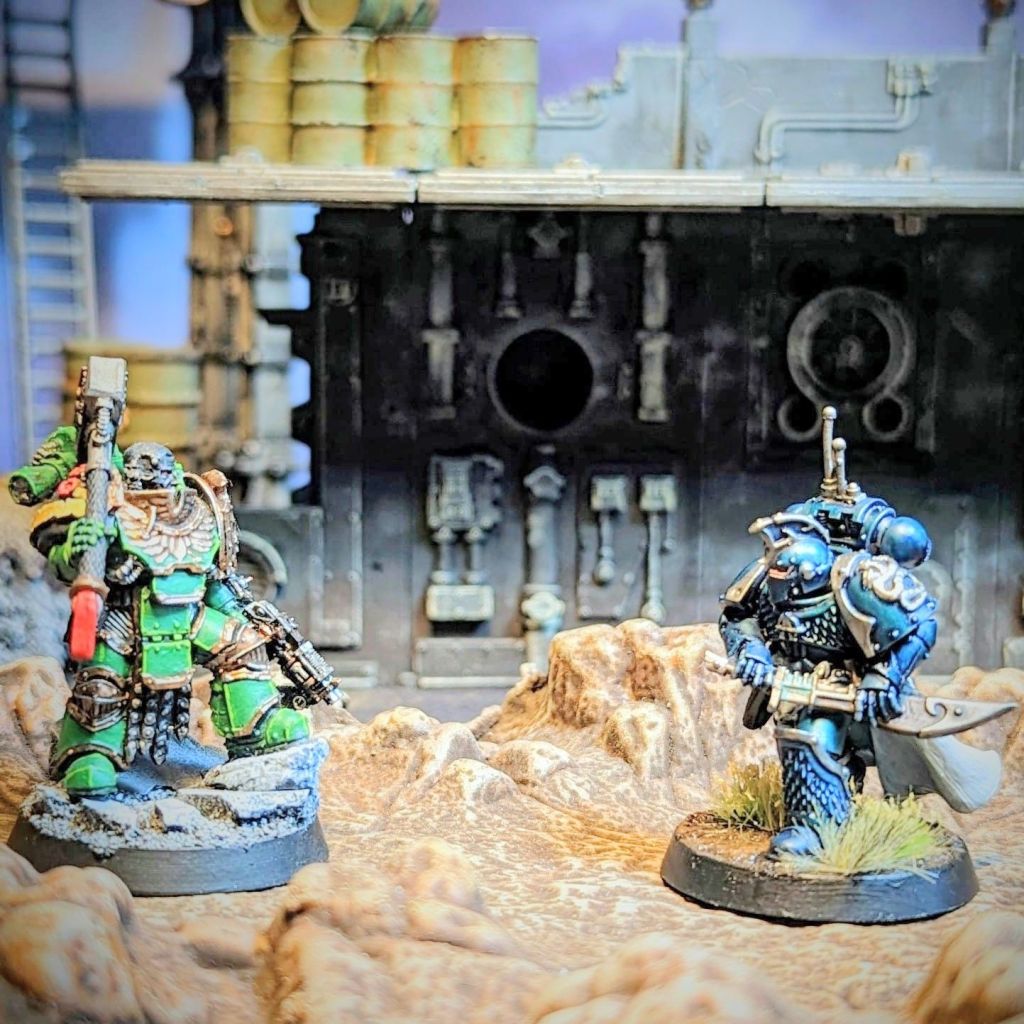
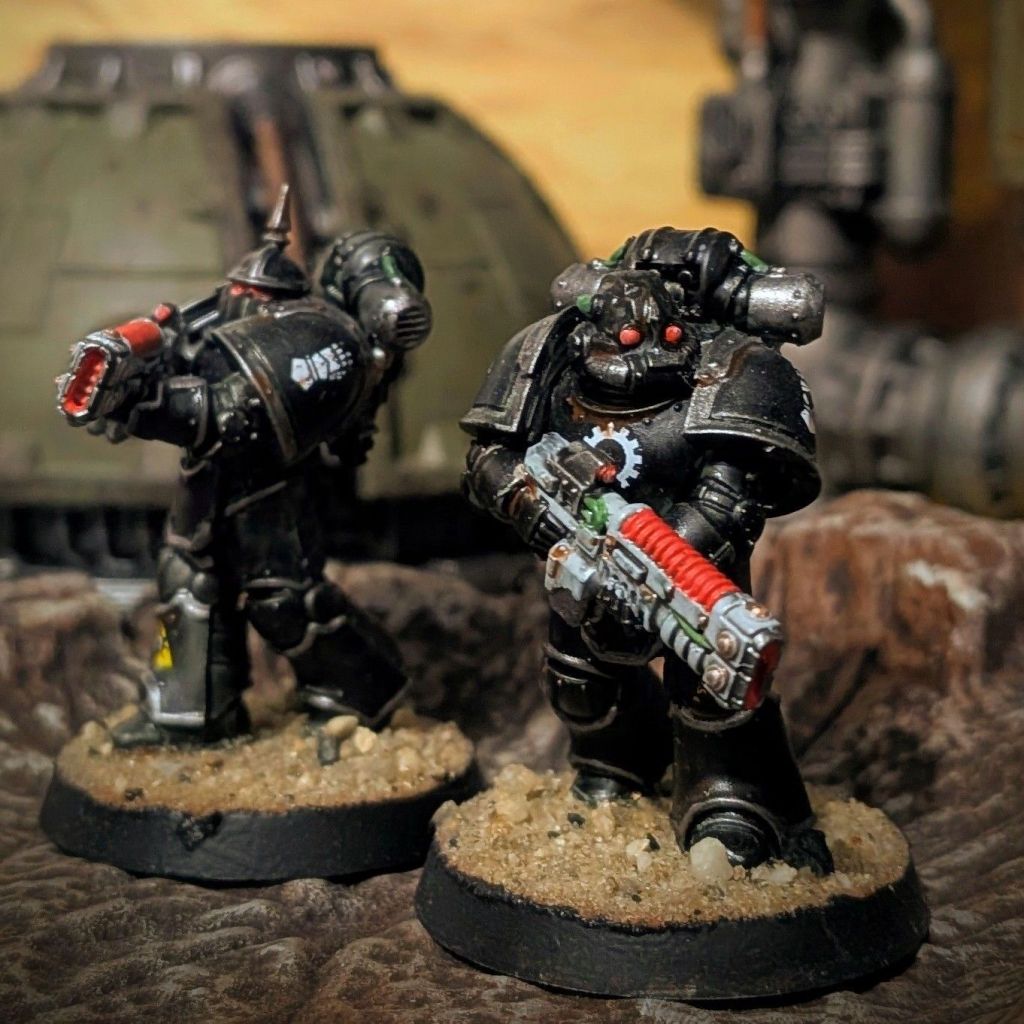
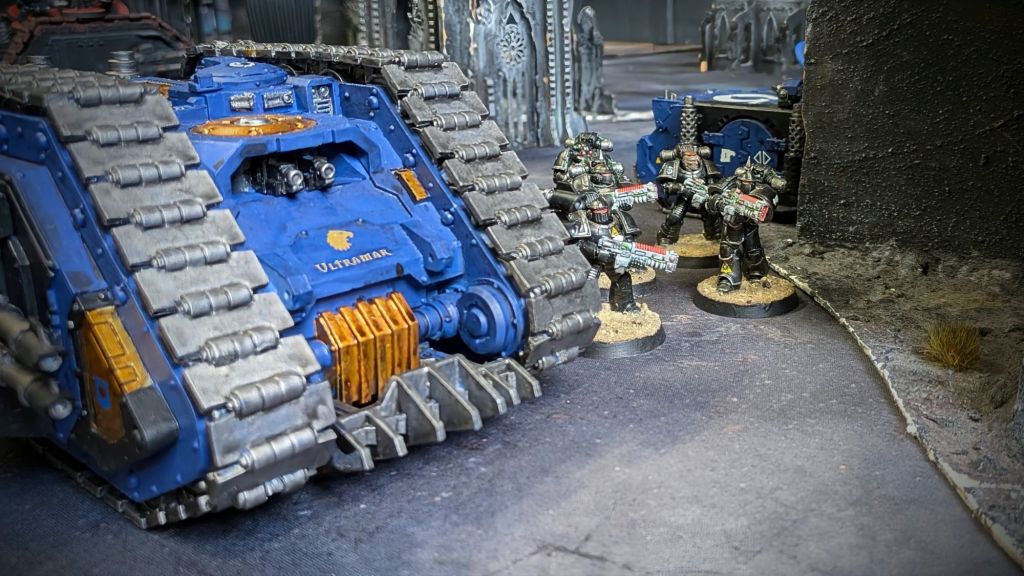
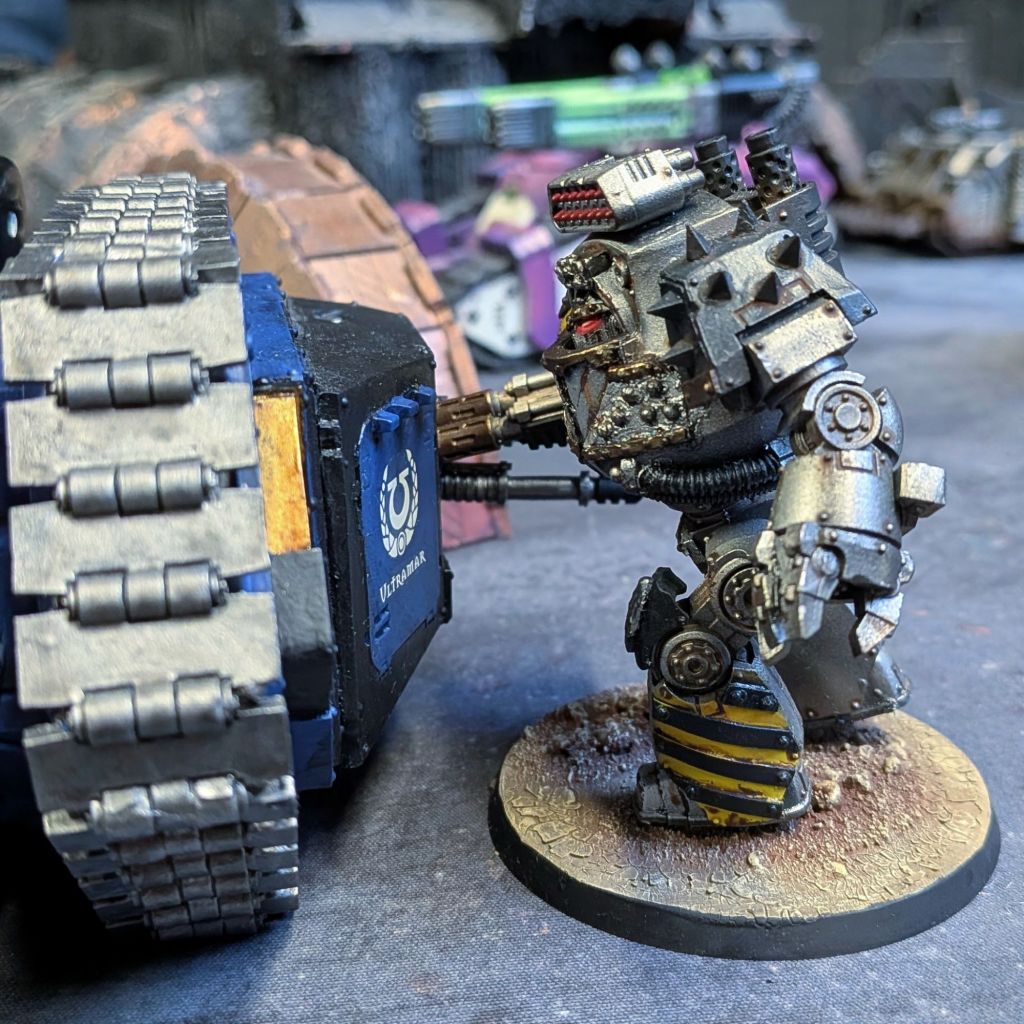
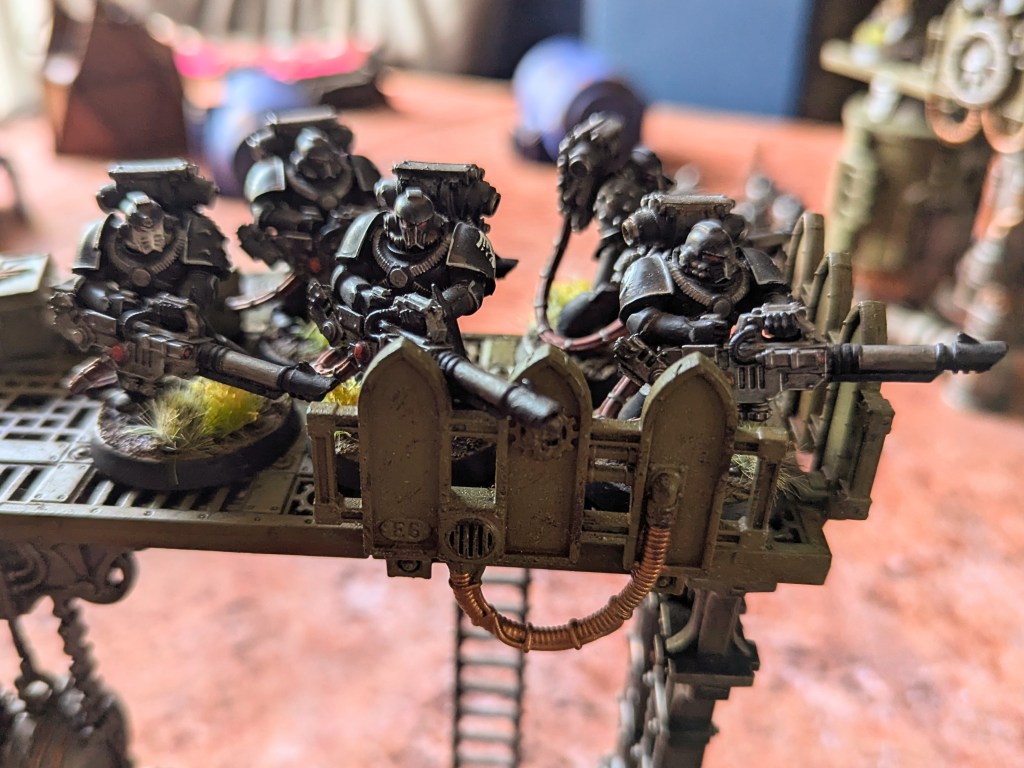
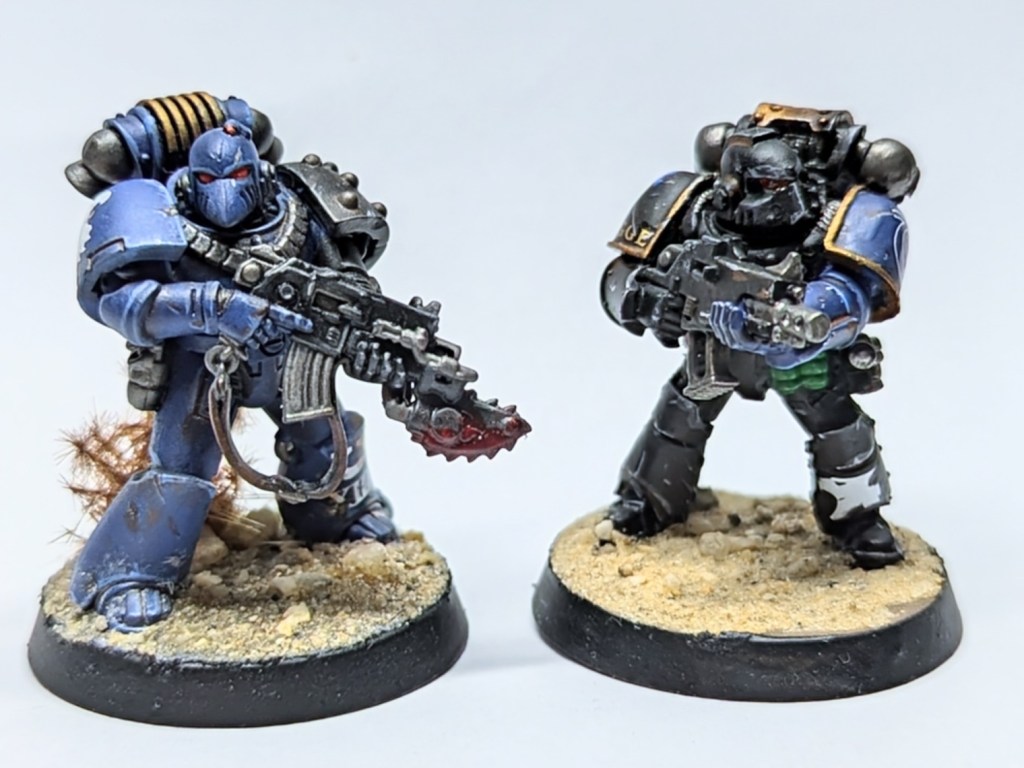
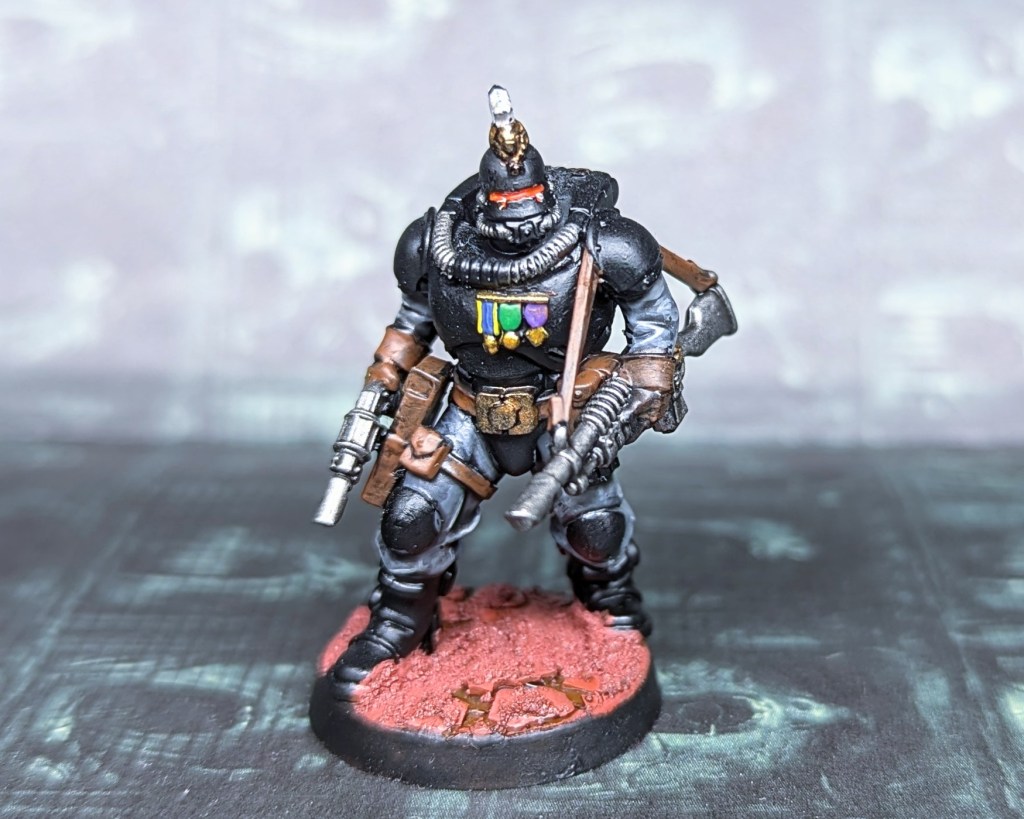
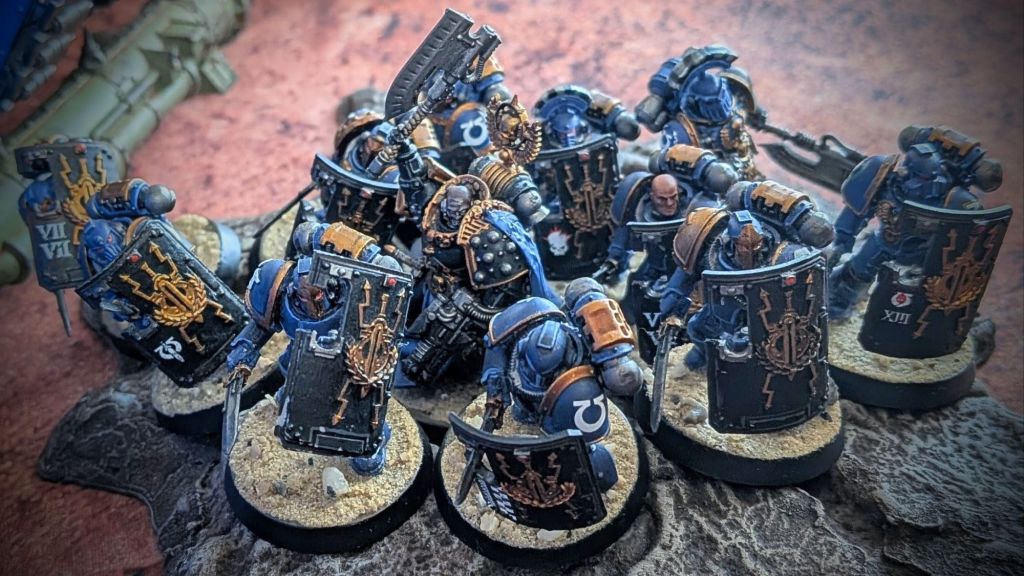
Lieutenant-Strategos Gygr ordered her tanks into position along Supply Route Delta, making best use of the cover available. She was surprised when a detachment of Iron Hands arrived and started digging in alongside. Despite continuing to reject any effort to coordinate their force, a nod from their commanding officer was sufficient to calm Gygr. Before the two leaders could speak, a tumultuous roar erupted from across their defences. The traitors were finally coming, Gygr thought, and this seemed as good a place as any to hold the damned line.
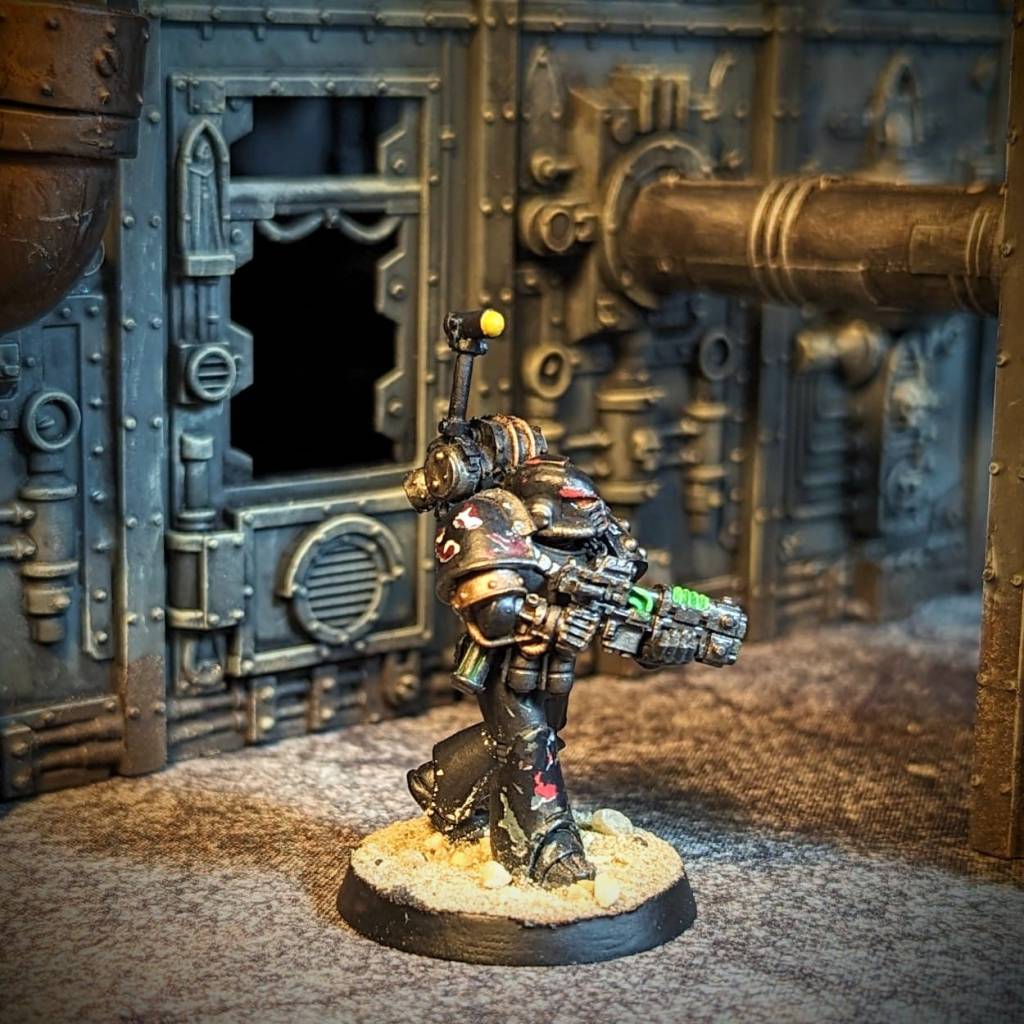
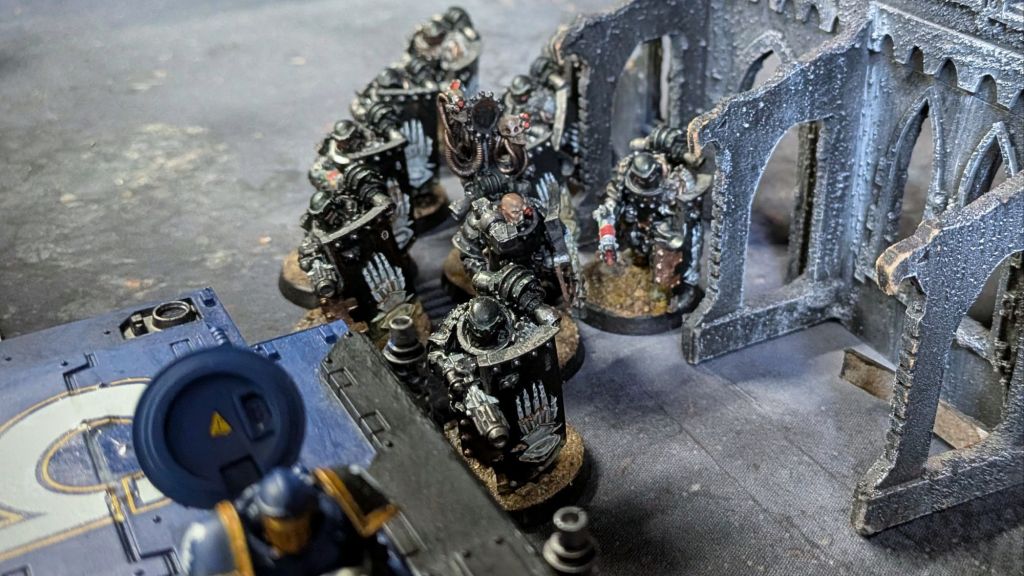
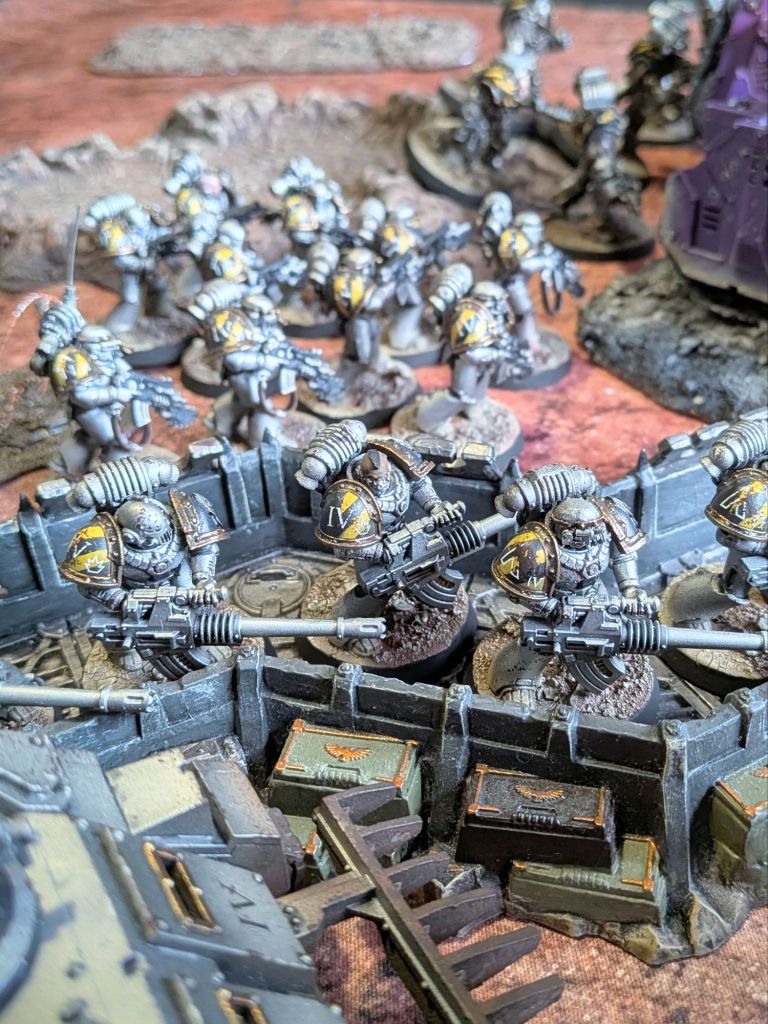
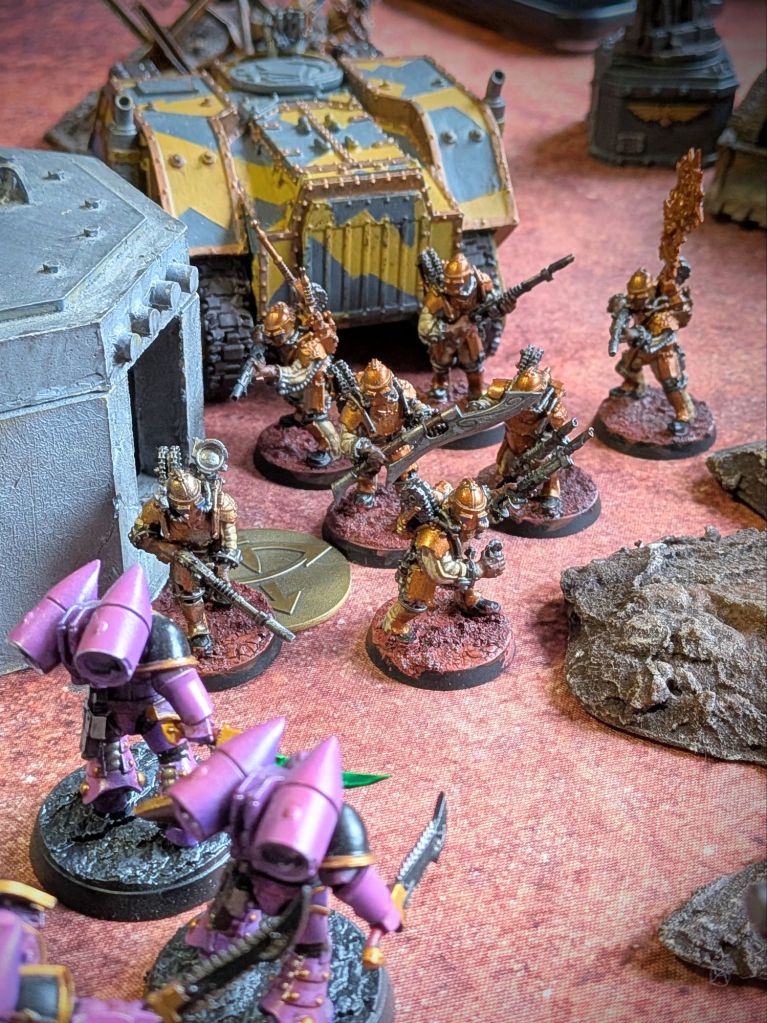
The Traitors did not waste any time with vanguard units engaging within the hour. Behind them came the rumble of vast war engines and the crunch of power armoured boots. While the Emperor’s Children were whooping and screaming in the assault, the Iron Warriors were silent, relentless and disciplined.
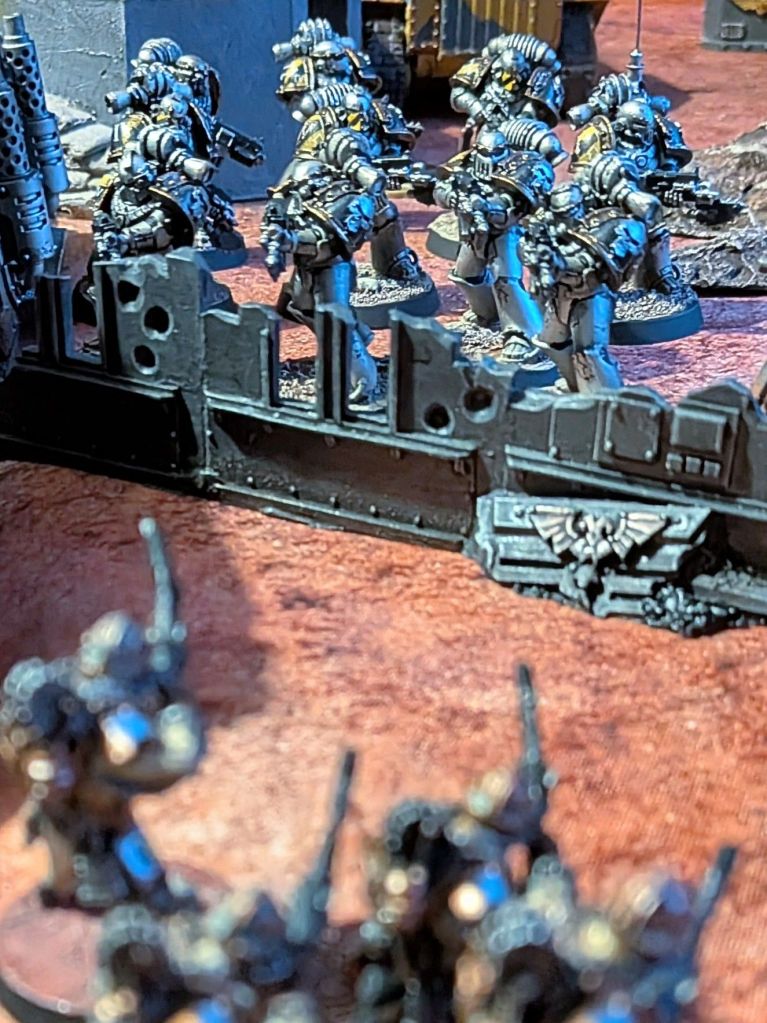
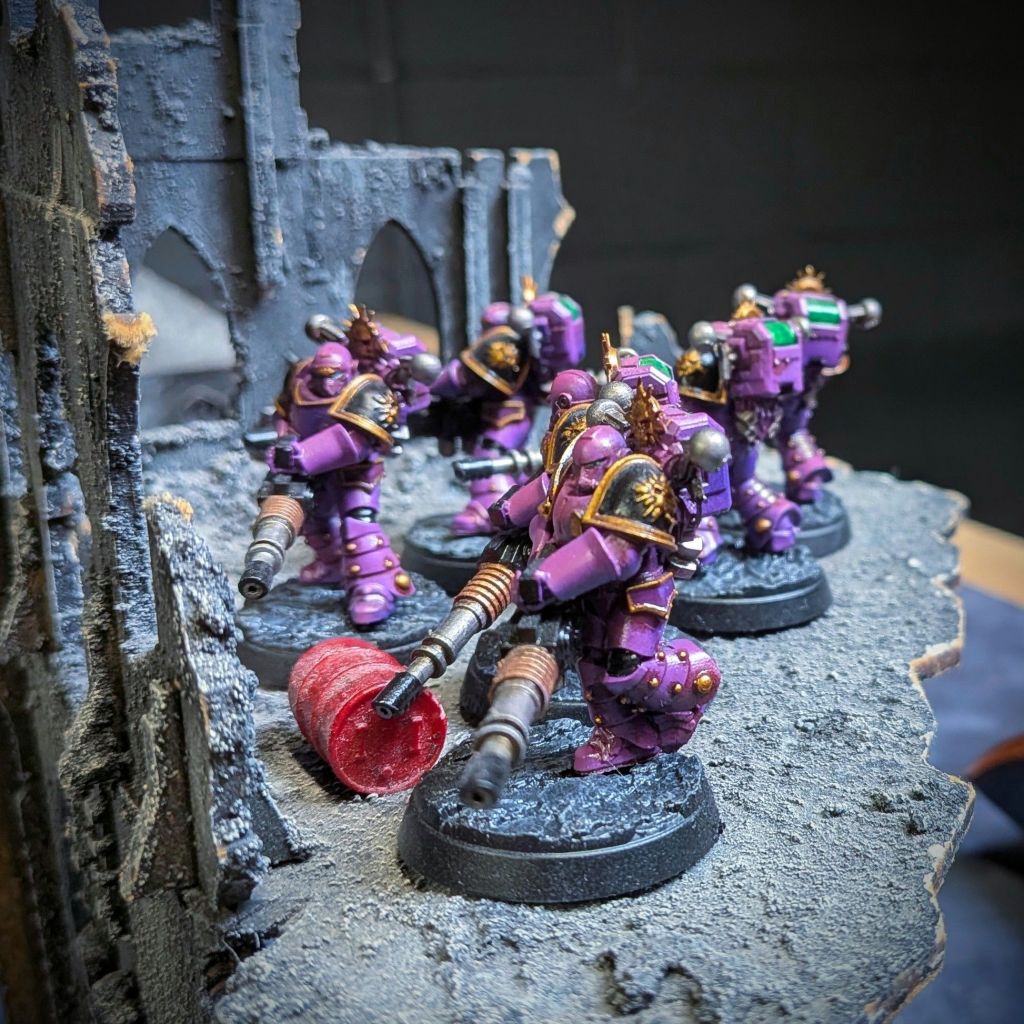
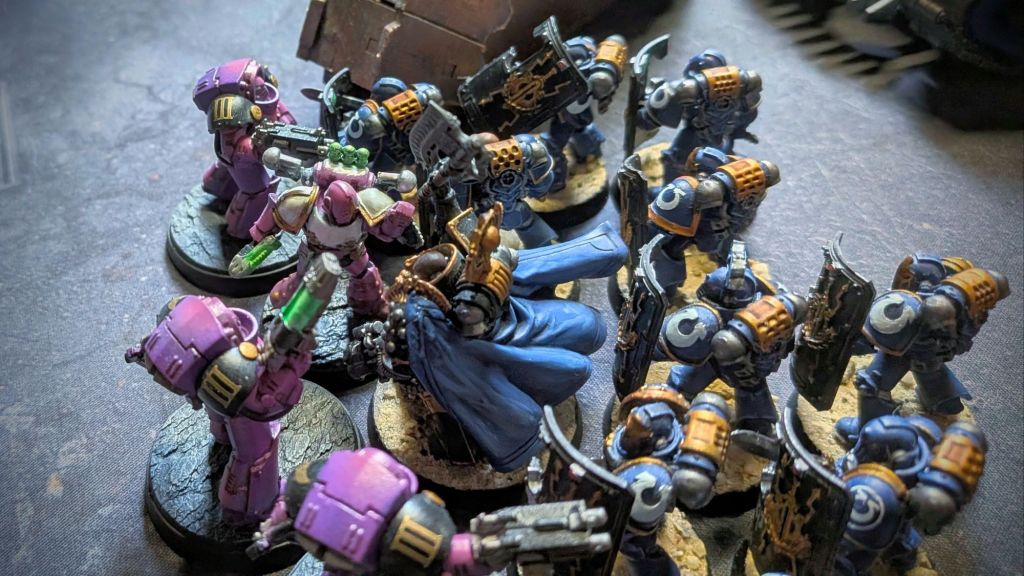
The Loyalists barely had time to open up before the Traitors were amongst them, with the Solar Auxilia artillery tercios being early losses from shredding Iron Havoc firepower. The Emperor’s Children forces initially focused on the Solar Auxilia, but soon turned themselves to their favoured opponents – the Iron Hands.
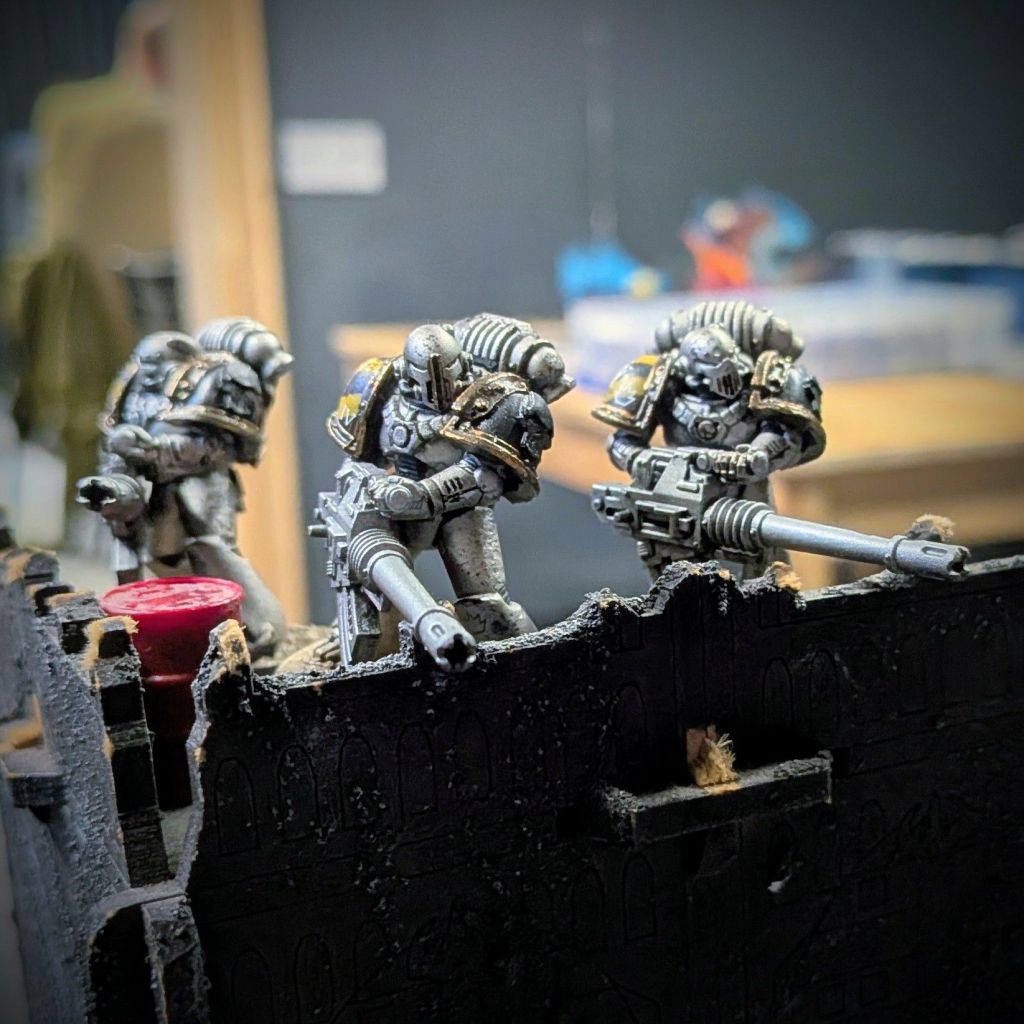
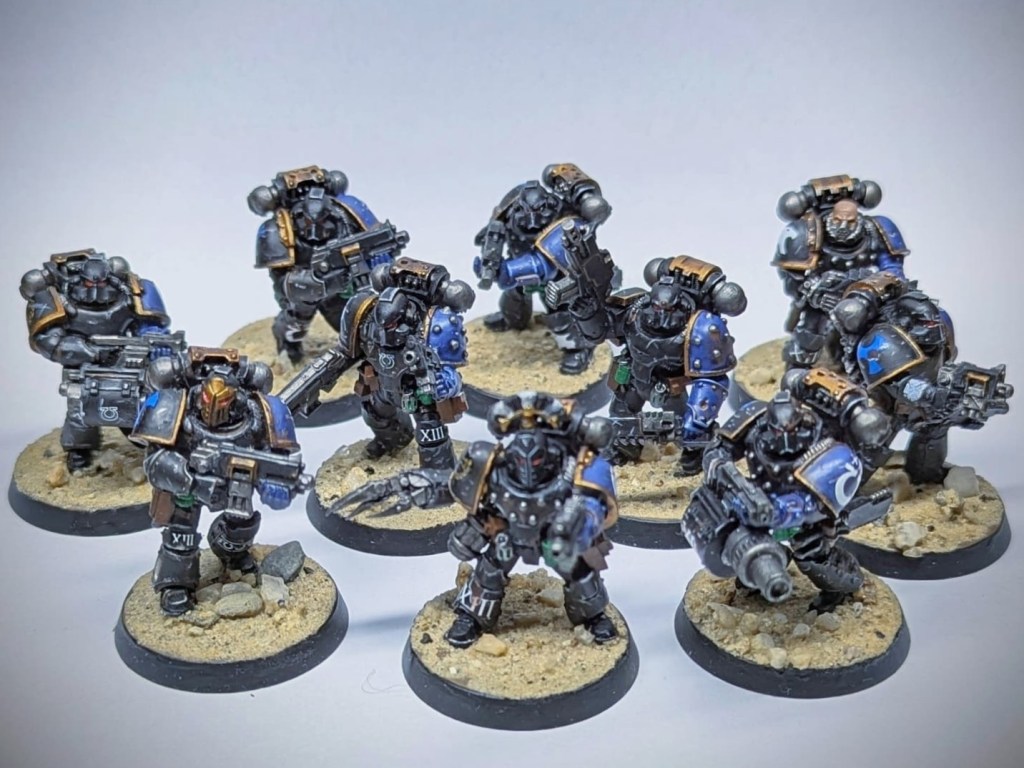
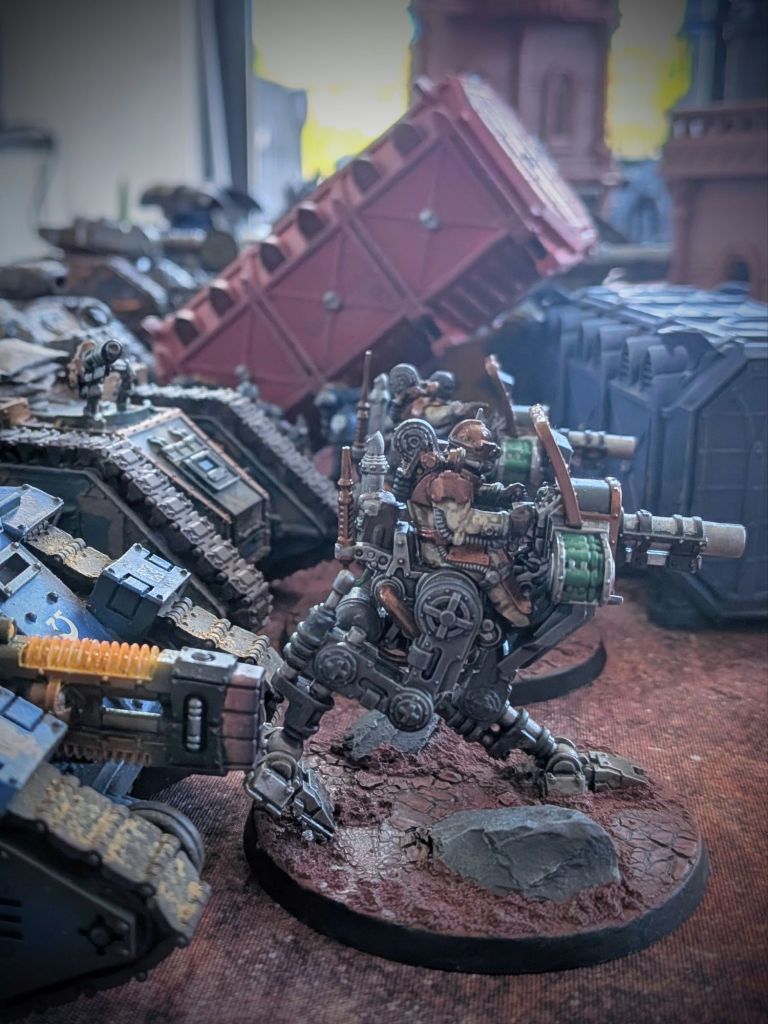
All of this was expected of course, but the Solar Auxilia fought with intensity that surprised the Traitors. Divisional engineer teams disabled Iron Warriors rhinos and even managed to kill several Siege Tyrant Terminators before being taken out by counter-fire.
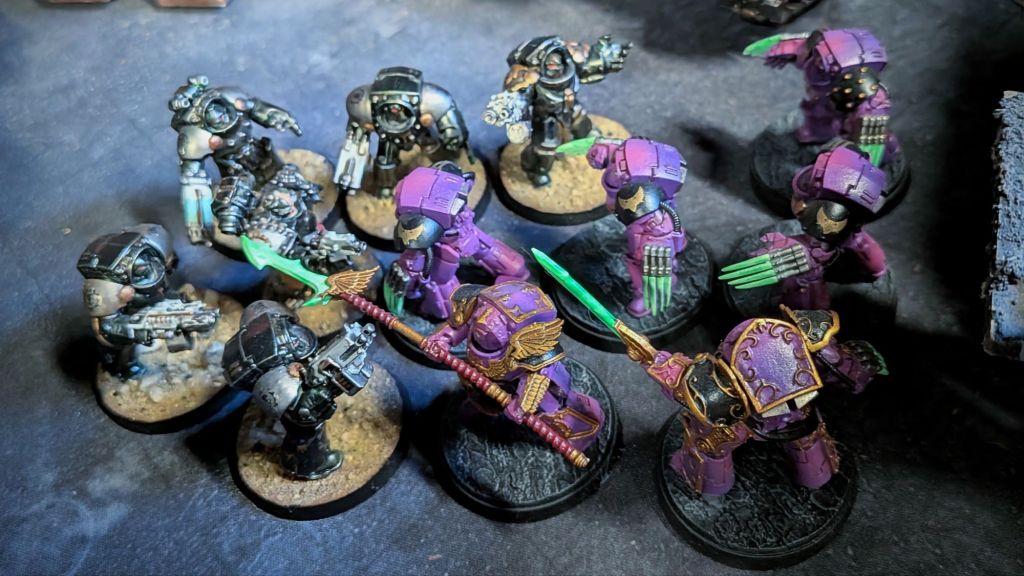
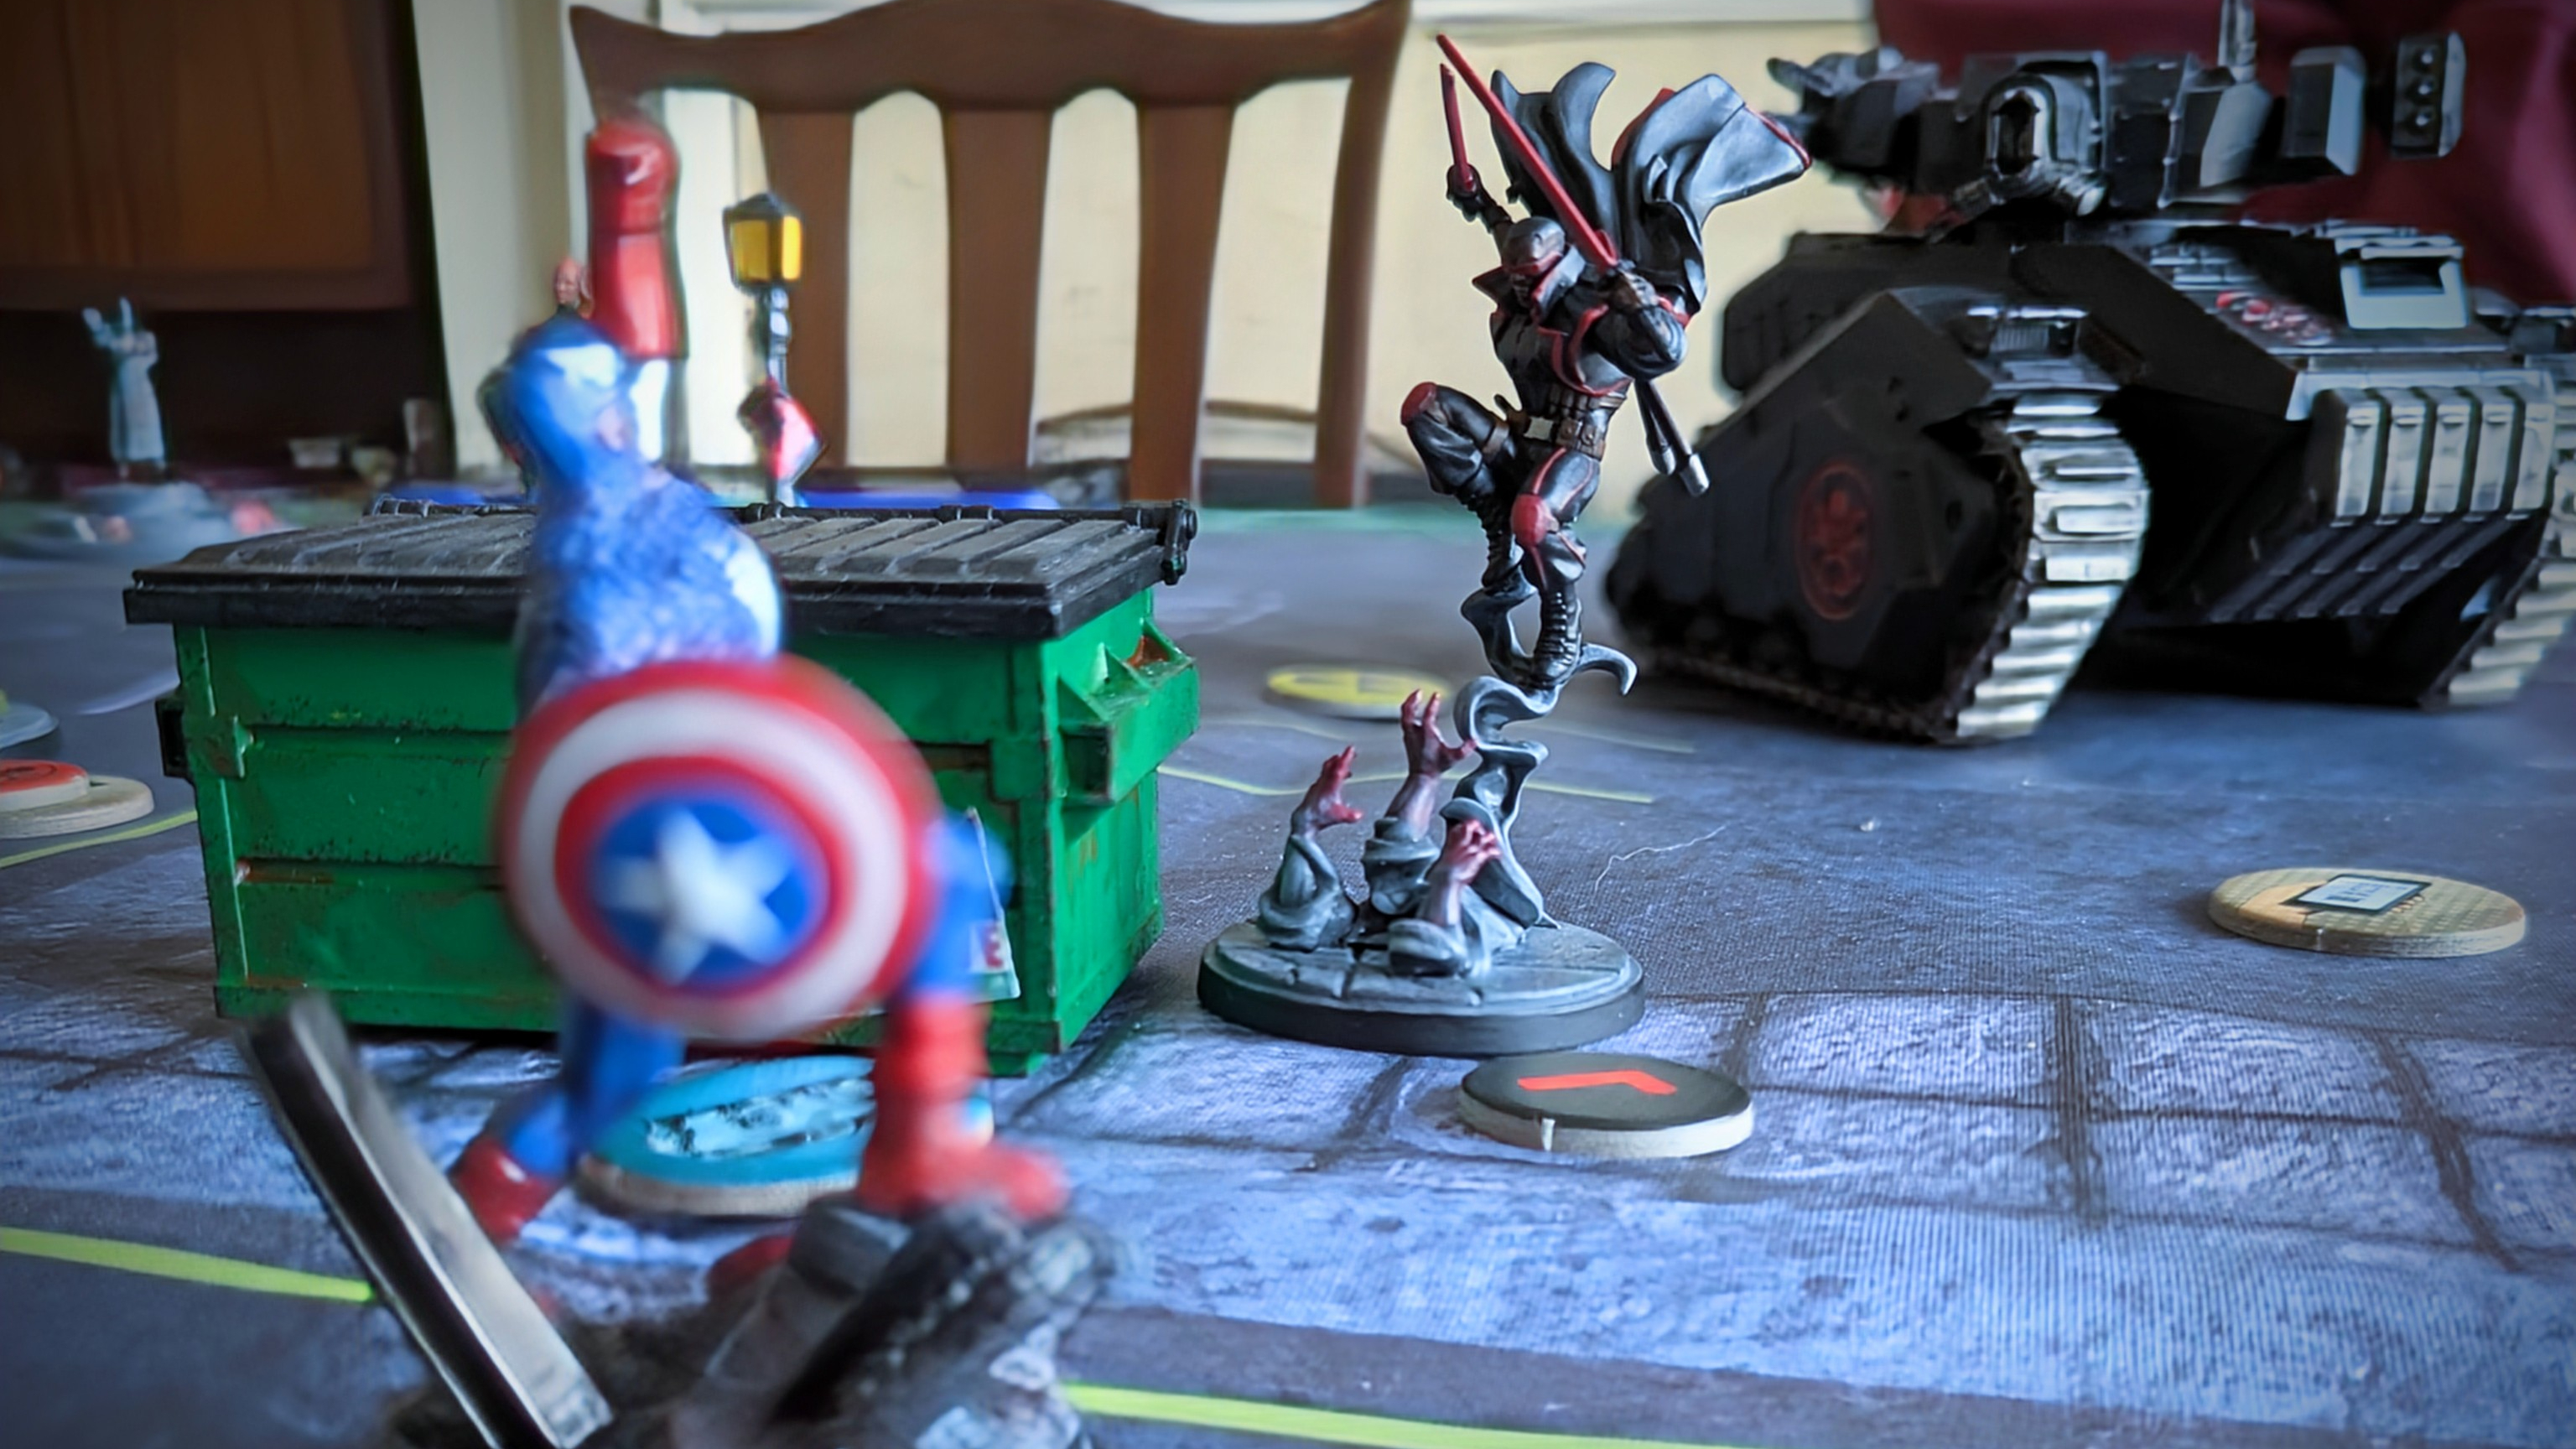
As the Emperor’s Children revelled in slaughtering the members of Clan Avernii that had escaped Isstvan V, the Iron Warriors drove a mechanised fist through the flanks of the Loyalists – with Draxion aiming for Lieutenant-Strategos Gygr’s command bunker. This task was ultimately frustrated by a single Arvus lighter arriving to extract Gygr – the last survivor of her staff – clutching the sub-cohort banner.
After over six hours of fighting, the 1212/824 were forced to pull back. Although the Traitors had failed to break through along the whole line, it was sufficiently compromised that there was no point in still defending it. Further, the casualties the Loyalists had sustained were enormous. The sub-cohort as a whole suffered 72% casualties, with tercio 1212/824/14 only having a single Auxiliary during the following day’s roll call.
We held as long as we could, but Supply Route Delta has fallen. We are retreating to you now with the enemy in pursuit. A lot of heat is coming you’re way, you better be ready.
Vox record from Lieutenant-Strategos Gygr to General Verox following Operation Shellstorm
Behemoth Gate
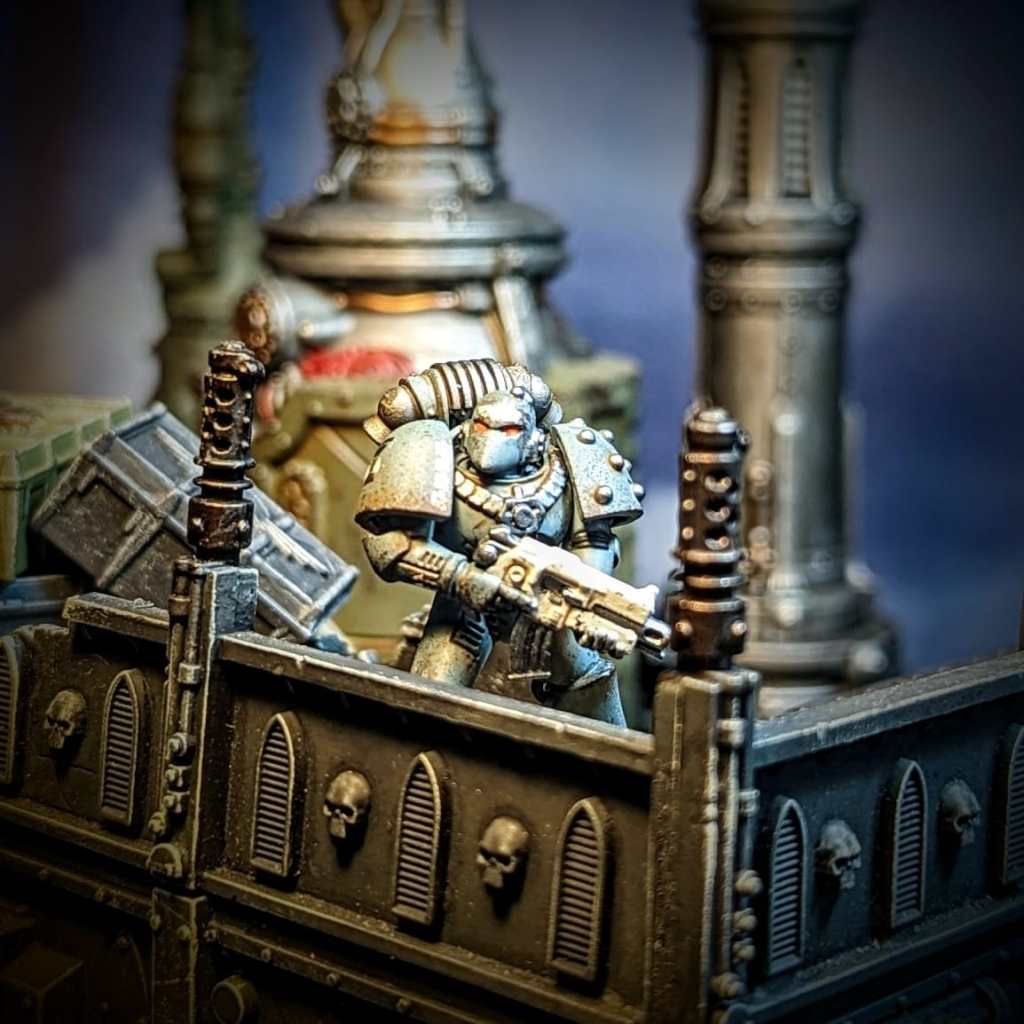
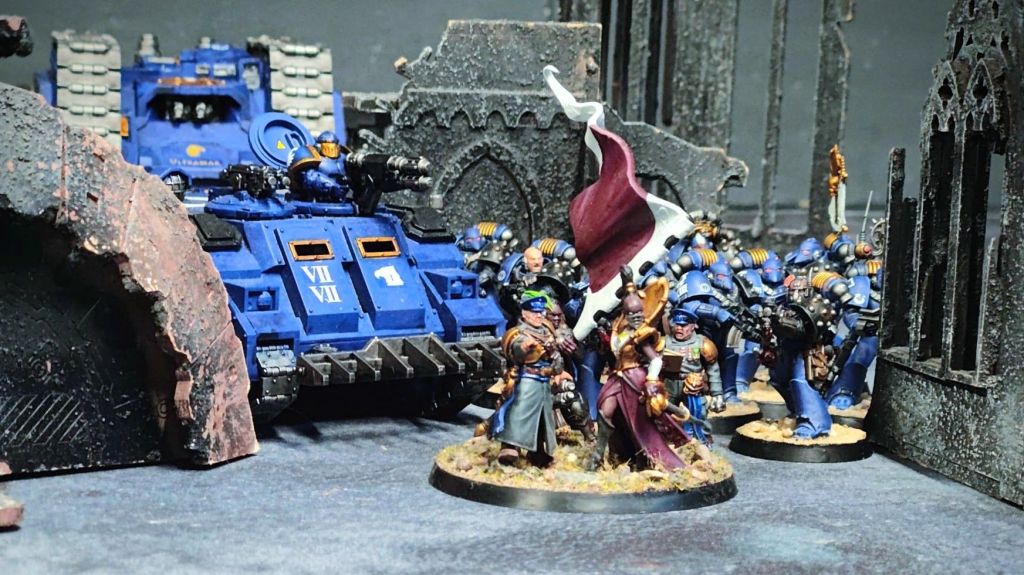
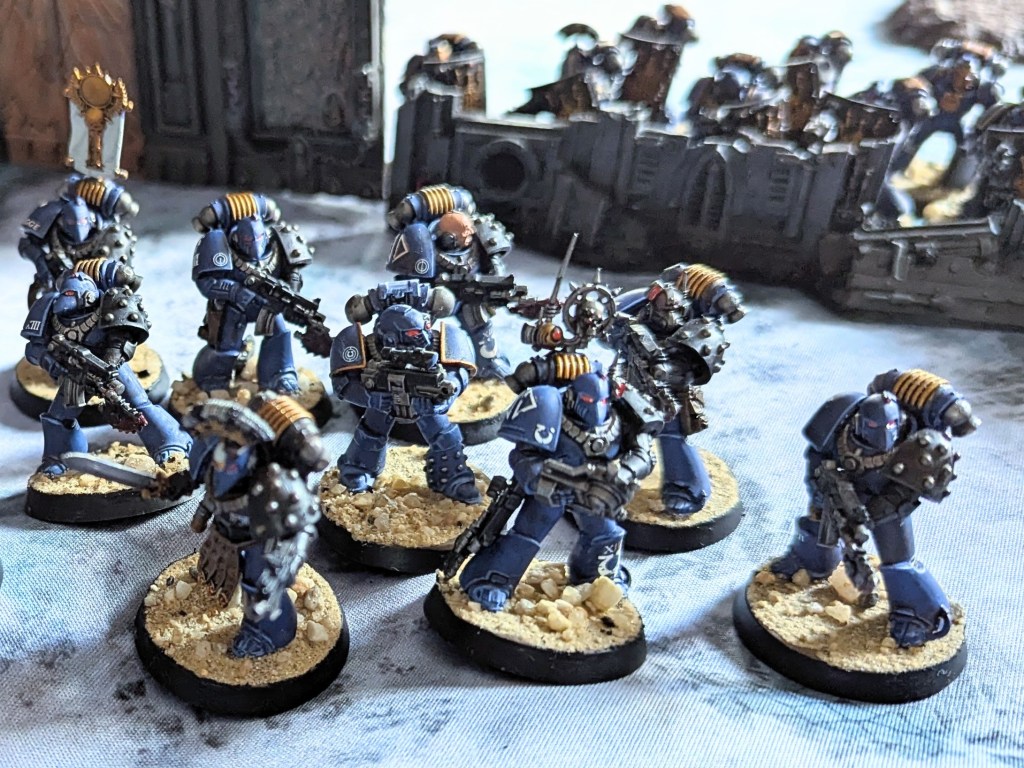
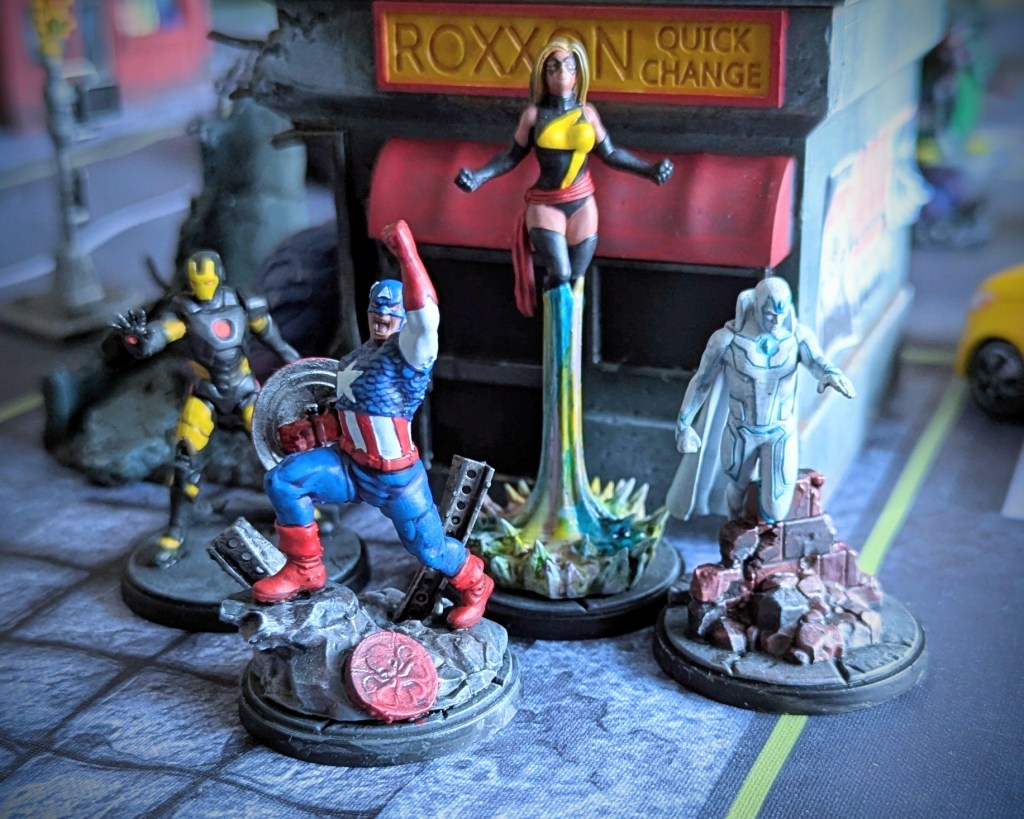
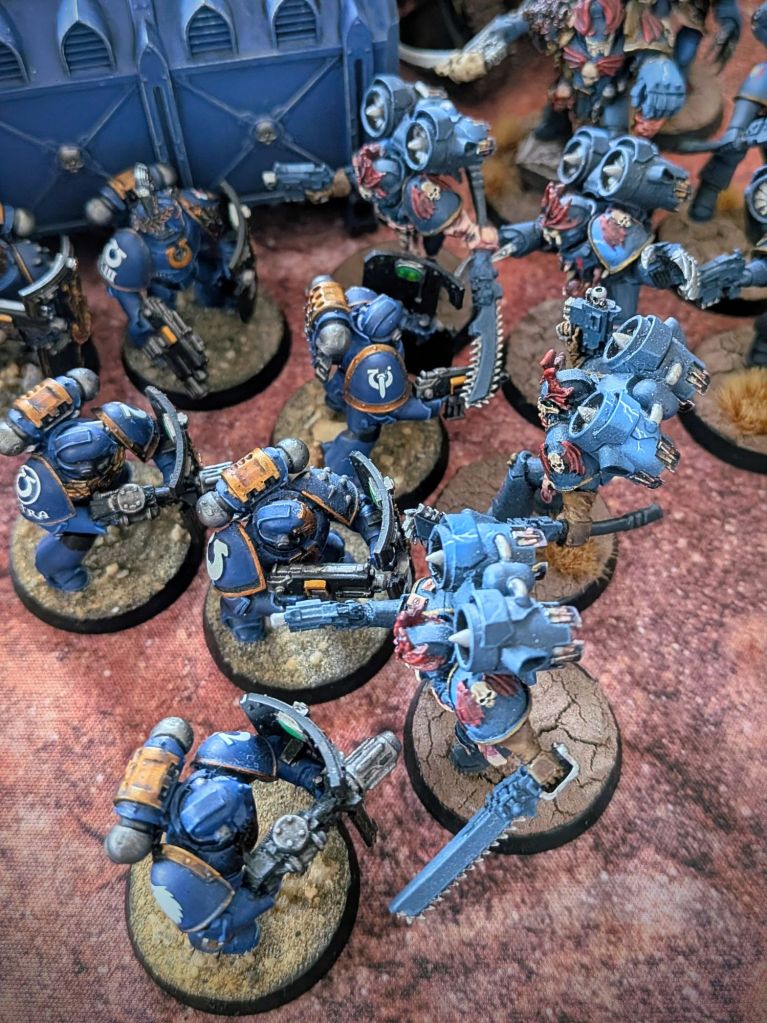
The Loyalists were indeed ready. Not only had Operation Shellstorm allowed 2nd Army to arrive on the planet, it also gave the Ultramarines time to redeploy to the city, leaving a garrison at Krapreen under Optae Ballisterian and supported by two regiments of Ironbacks. With both the 77th and 316th Companies, the Ultramarines presented a significant concentration of manpower, including the much lauded Fellblade Gladius Invictus.
The Traitors’ goal was to capture or disable the mighty orbital cannons that were punishing the Traitor fleet and helping ensure Loyalist orbital control. The Traitors could not hope to secure any meaningful control over the planet without protecting its fleet.
The Iron Warriors had withdrawn from the assault, seemingly protesting their Emperor’s Children “allies” effectiveness, but any hope of good news was quashed when the skies lit up with the telltale signs of drop pods.
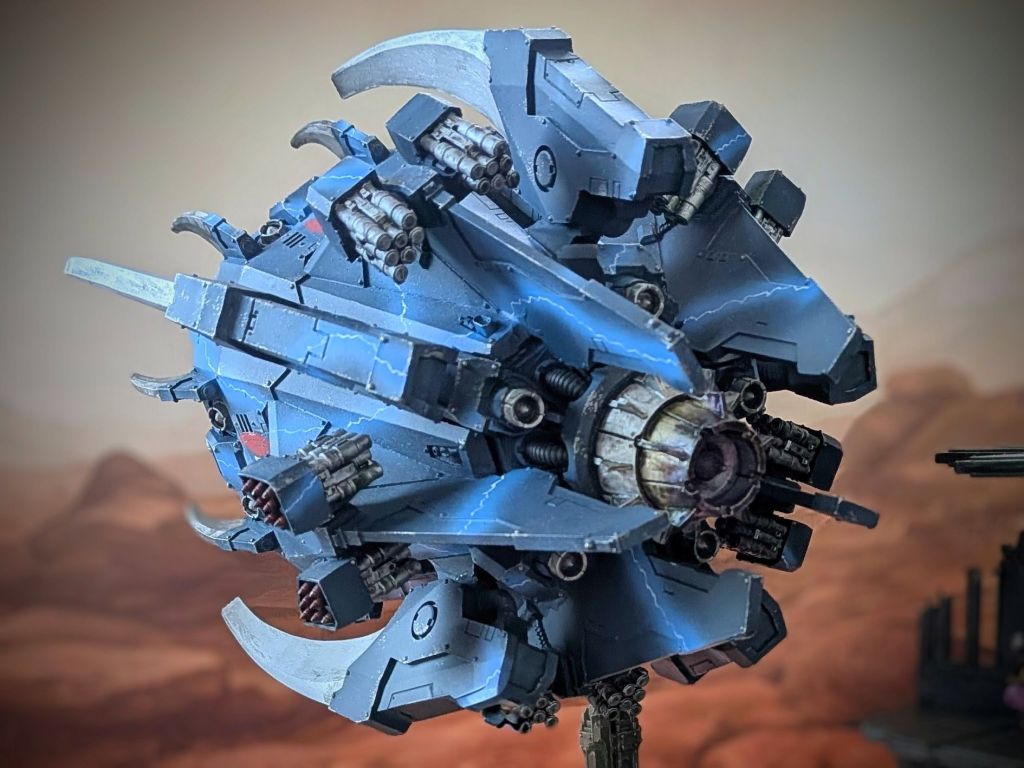
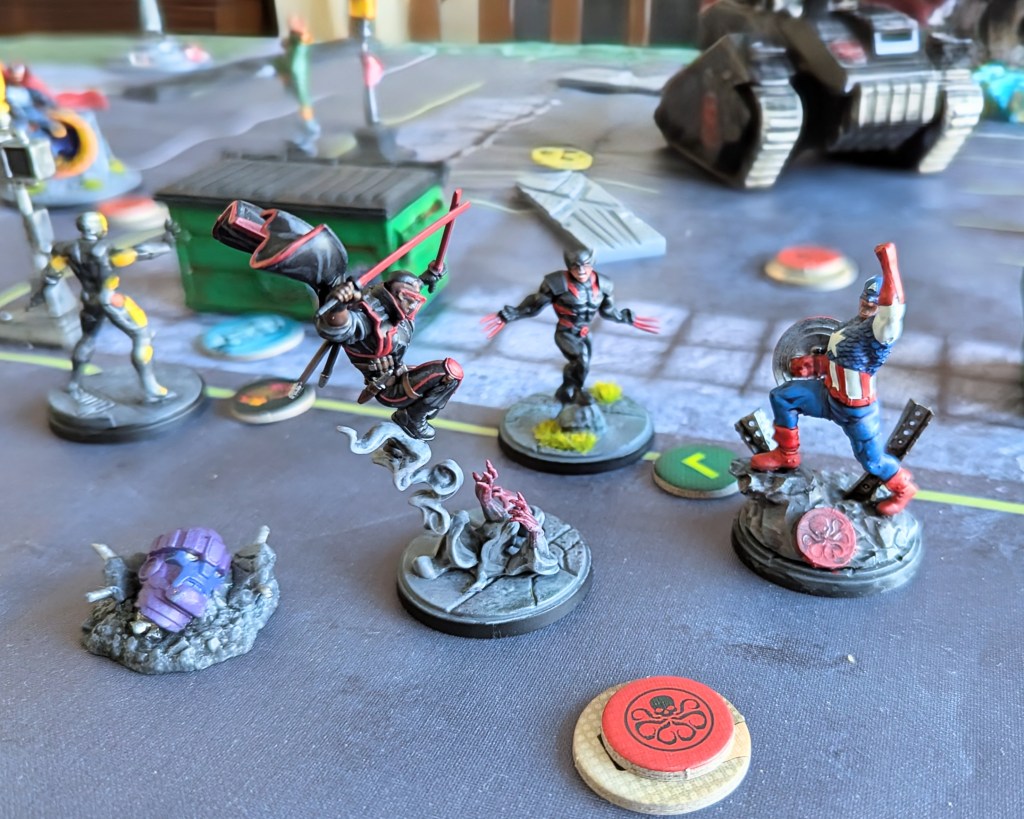
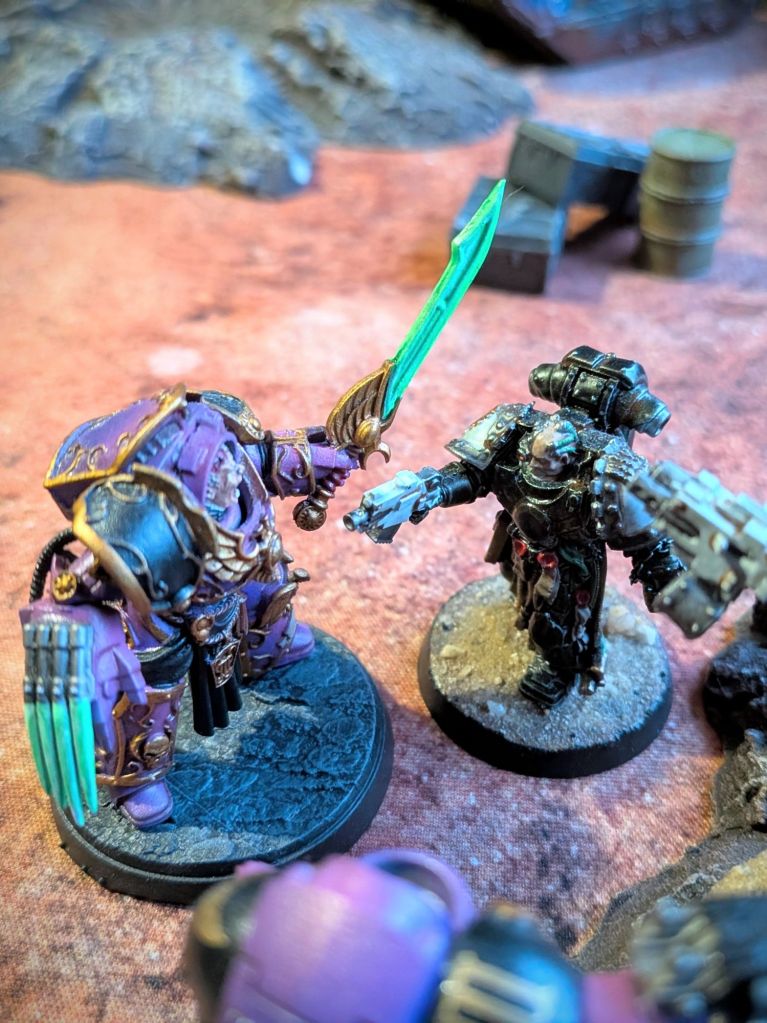
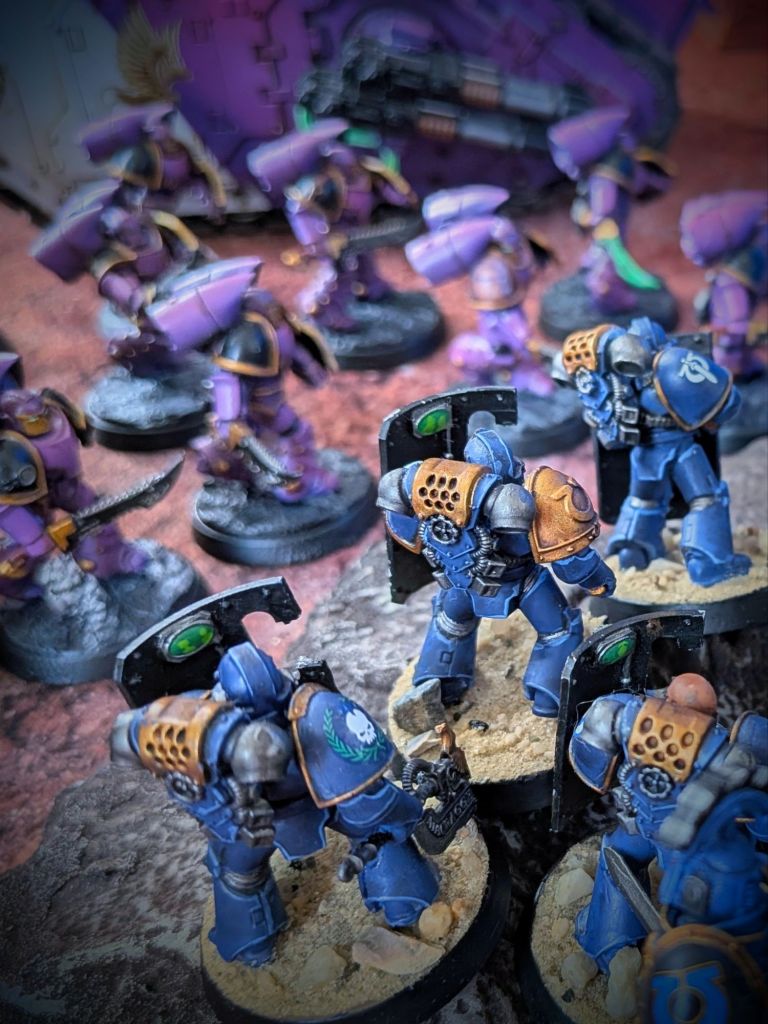
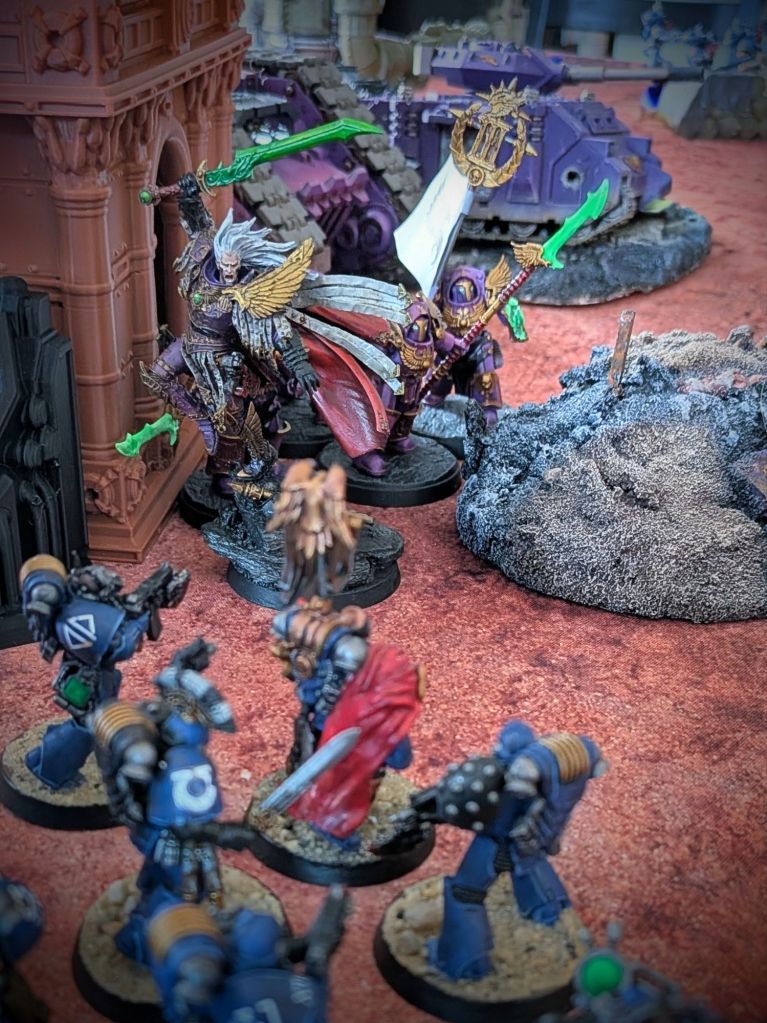
The outlook worsened for the Loyalists, as two primarchs were rumoured to be amongst the assaulting force – Fulgrim and Conrad Curze. This represented an escalation in the war for the Xyphos Sub-sector as it was the first time that primarchs were involved. It proved particularly troubling for Supreme Headquarters Loyalist Forces Xyphos (SHLFX) who had assumed that all Traitor primarchs were accounted for elsewhere in the galaxy. That two such mighty beings were here threatened control of the entire Sub-sector.
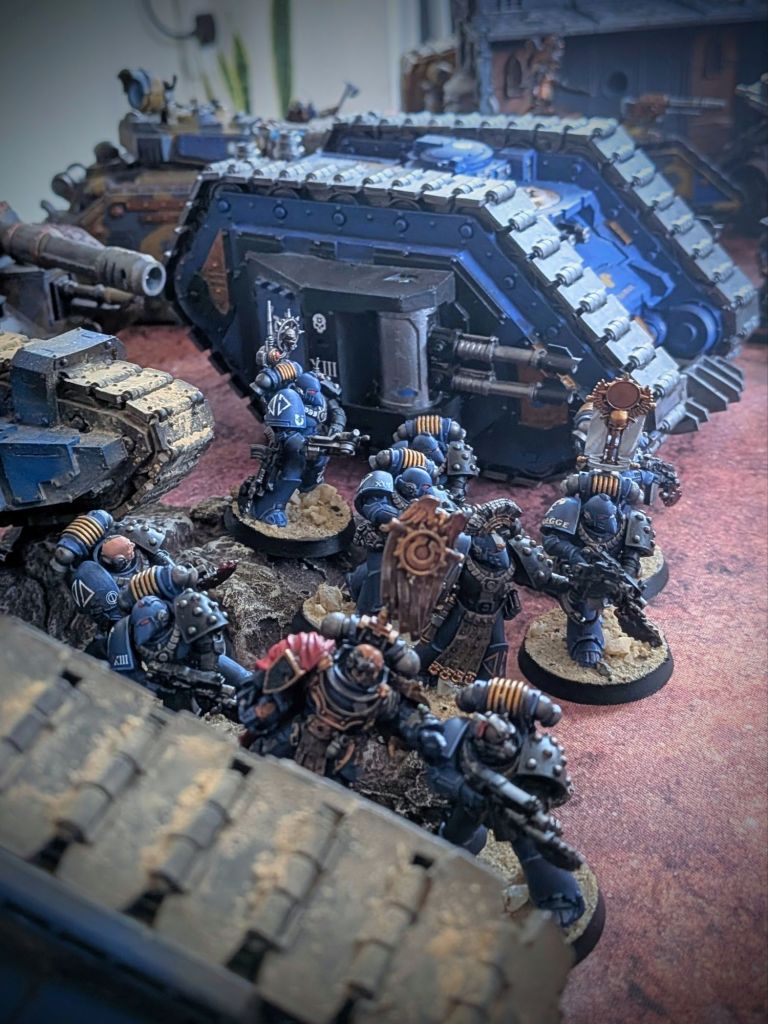
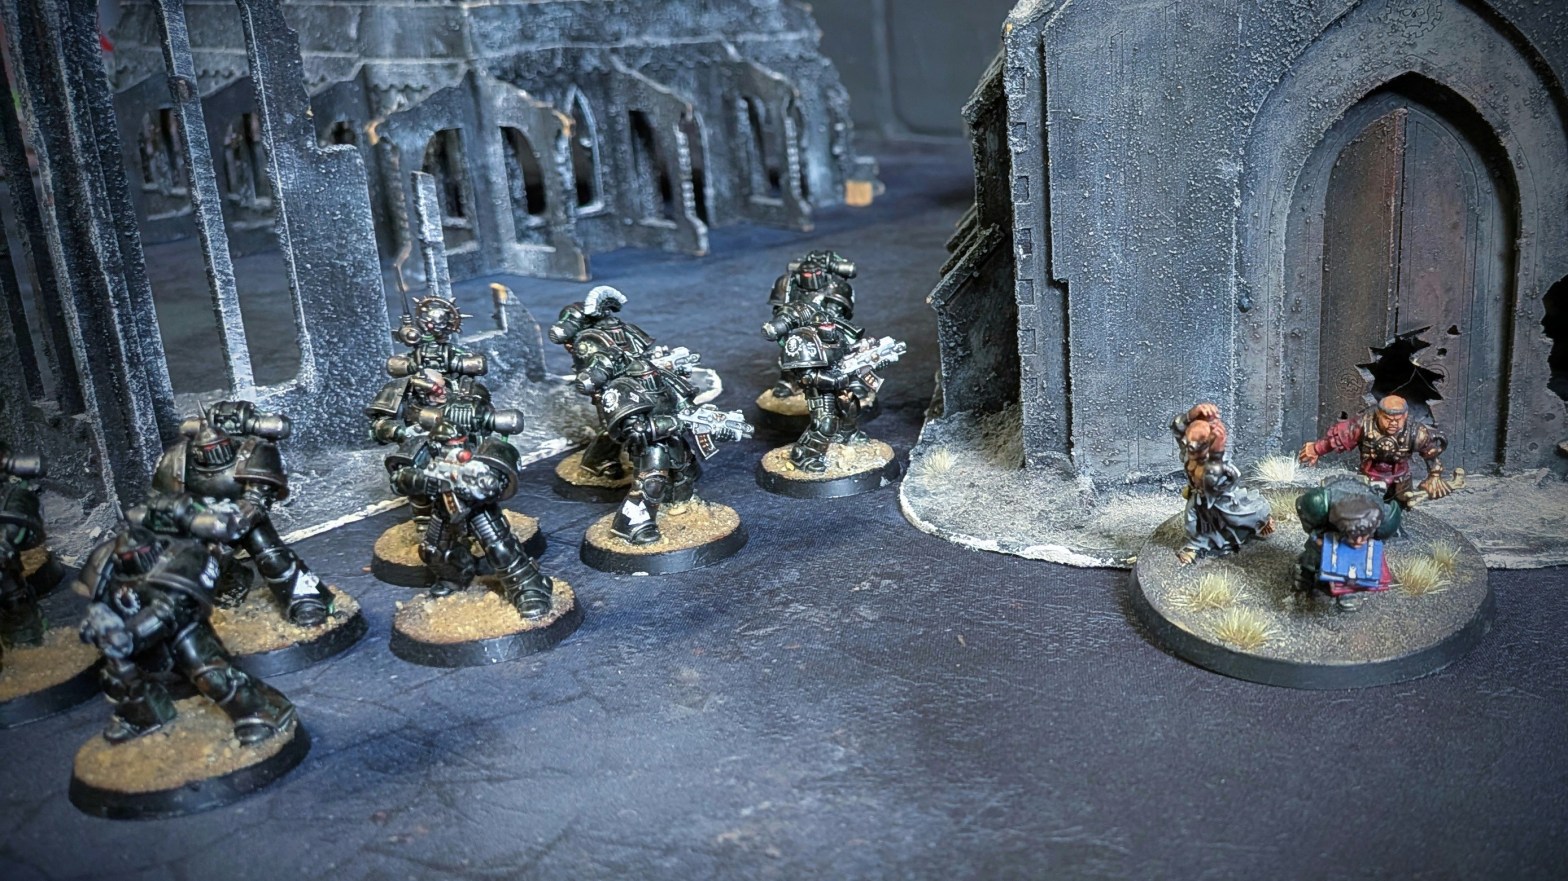
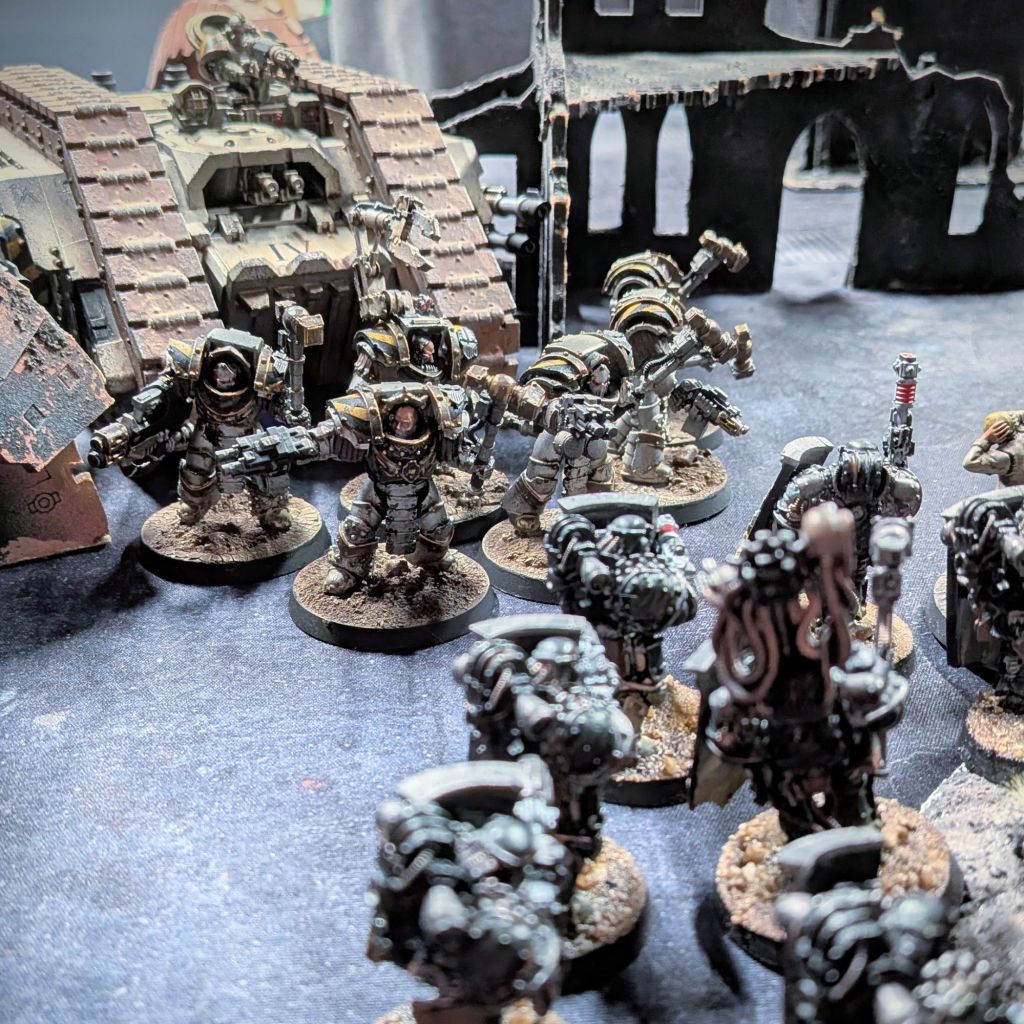
As if to prove the immediate impact of such mighty individuals, the Traitors seized the initiative on the counter-assault, catching the Loyalist force as it was advancing through the suburbs. Initial firepower, though heavy, was not particularly effective against the armoured wall of the Loyalist tanks.
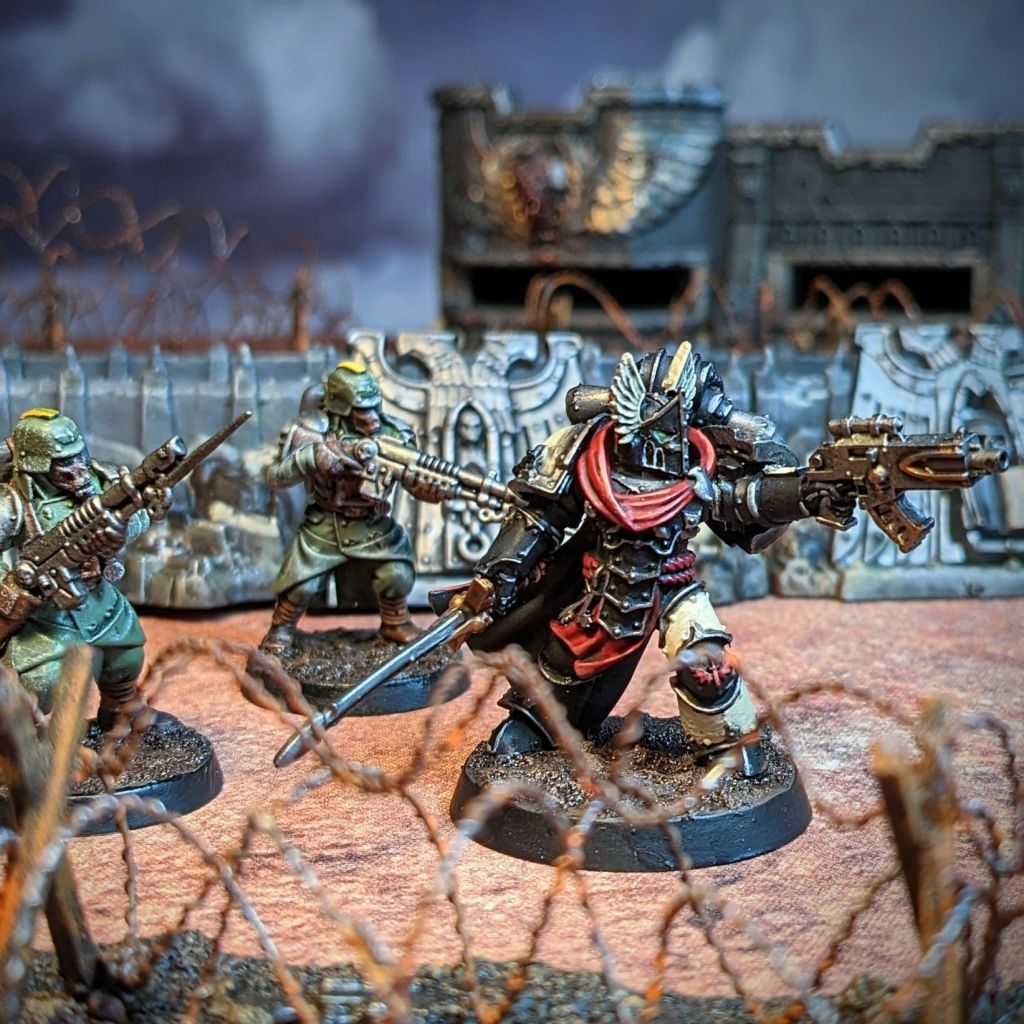
Curze descended upon the engineer companions with a wicked grin. Undeterred by the embodiment of nightmares in front of them, the Auxiliaries raised their meltaguns at the fearsome primarch, unloading volleys of superheated beams into him. For a couple of seconds everyone nearby was blinded by the light and the smoke. Some even cheered, thinking that they had slain Curze. All this ended when a very much still alive Curze, his cape and armour sizzling and smouldering, stepped forward. He rose up to his full height, casting a long shadow. The sub-cohort vox lights up for a brief moment of screaming before the comms go dead.
Following concentrated assaults, the Fellblade Gladius Invictus suffered significant damage and was forced to withdraw – but not before inflicting significant damage on the Traitors.
The lacklustre attempts of my brother on the western flank of the battle hinder my perfect battle plan. His failures cost our assault on the city, luckily I destroyed one of there primary weapons on the system, their beloved fellblade left a burnt husk. At least the 3rd legion can perform their role in the destruction of the Emperors forces.
An extract from The True and Unaltered Account of Fulgrim, The Phoenician, and His Many Blessings During the Great Uprising.
End Result
With the Traitors failing to secure the Orbital cannons, their position on world was untenable. Additionally, news reached the Traitors that the majority of the 216th Expeditionary Fleet had arrived in-system and was advancing on Moross. While some Traitor forces stayed to harry the Loyalists on Moross, they largely pulled back and retreated off world and performed emergency warp jumps out the system.
However, even in this victory troubling news arrived at SHAFX. Expeditonary Fleet Intelligence Corps reports indicate a Gloriana class ship with ident matching the Iron Blood arriving into the Sub-sector. That a third primarch appeared to be arriving promised that the war for the Xyphos Sub-sector was far from over.
Headquarters Loyalist Forces Moross key steps:
- Repair the orbital relay station to strengthen comms for the expected push into Traitor territory;
- Reassign fuel shipment Brevta-Nu 749 to re-stock 216 Expeditionary Fleet reserves located outside Nova Kharkiv on Moross;
- Implement 0.4% uptick on Hephaiston manufactura production quotas to adequately refit 1212/824;
- Instruct Magos Biologis Frurnabel to process 1,220 wounded Auxiliary volunteers for thallax conversion process.
Dispatches
The following units through meritous performance earned specific mention in dispatches:
- Ultramarines 77th Company: Nemesis Squad Taius for their unflinching firepower securing the central generator chamber from Emperor’s Children forces and routing enemy terminators.
- 1212th Solar Auxilia Cohort: The crew of Dracosan 1212/49/T1 for transporting line troops safely to the key objectives and for unrelenting firepower against Traitor armour, including destroying an ancient Land Raider.
The following enemy units through notorious performance earned specific mention in dispatches:
- Emperor’s Children 1st Company: Cathonian’s Finest, Terminator Squad. Their assault led to the disabling of Gladius Invictus Fellblade super-heavy and their resilience withstood significant firepower from the Loyalist forces.
- Night Lords 87th Company, ‘Reapers of Dravosk’: 4th Claw Terror Squad, led by Kazimir Sahaal, whose brutal assaults destroyed the Loyalist right flank, including taking out Breacher Squad Macrinus.