
I’ve been playing the Raven Guard since I first jumped into 30k back when Betrayal at Calth dropped. Right from the start, the XIXth Legion rules grabbed me—there was just something brilliant about relying on infantry, drop pods, fliers, infiltrators, and jump packs to outmaneuver an opponent. Fast forward across 9,000-plus points of black-armored Space Marines and countless games on the tabletop and Corax’s sons are still my absolute favorite legion to pilot.
With the arrival of Horus Heresy 3rd Edition, our Legion tactical toolbox has shifted drastically. The biggest change I’ve noticed moving from 1st Edition to 3rd Edition is that the Raven Guard are now far stronger at range than in close combat.
Back in 1st Edition, we were all about raw aggression and alpha strike lists. In 3rd Edition, our core philosophy has evolved into a high-lethality ranged control playstyle: we punish long-range fire, control engagement distances with dynamic movement and save close combat for specific targets.
So here we go, this is my view on how the Raven Guard rules feel in 3rd Edition, how I run my units and the key combos I’ve been getting great mileage out of.
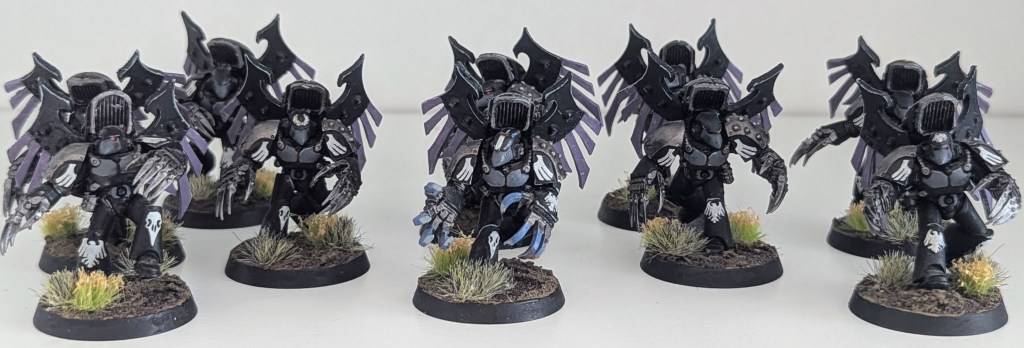
The Core Legion Rules & Tactics
Before jumping into unit synergies, let’s look at the foundational rules that dictate our new ranged playstyle in 3rd Edition.
Legion Special Rule: Shadow Walkers
Long-range gunlines facing the Raven Guard are in for a deeply frustrating day. Shadow Walkers means that whenever an enemy unit targets us from 18″ or farther away, all of their shooting attacks are forced to be Snap Shots.
My Take: This completely changes how opponents have to interact with us. In 1st Edition, we rushed forward into enemy guns. Now, we force them into kill boxes and charge range.
Advanced Reaction: Shadow Veil
Our signature survival reaction is an absolute lifesaver for keeping key units on the board when the enemy tries to return fire.
- Trigger & Restriction: Used by the Reactive Player when an enemy declares a shooting attack. The targeted unit must consist entirely of non-Vehicle Raven Guard models.
Cost & Limit: 1× per battle, costing 1 Reaction Allotment point.
Resolution Steps:- Reposition Move: Every model in the unit moves up to their Initiative characteristic (no Rush bonus). If this move causes every attacking model to lose Line of Sight and/or Range to every target model, the attack fails completely—and the active player loses their target for the rest of the phase!
- Shrouded (5+): The reacting unit gains Shrouded (5+) until the end of the Shooting Phase before the enemy resolves their firing.
Legion Gambit: Decapitation Strike
Even though we lean harder into ranged combat now, when your heroes lock horns with enemy commanders in a challenge, they aren’t looking for a drawn-out fence match—they want a clean kill. Declared once per challenge at the end of the Focus Step:
- The Process: Skip the Focus Roll completely and take 1 single opening attack.
- Success: If both the Hit and Wound tests succeed, you make all remaining eligible attacks for that Strike Step (minus the one already made).
- Failure: If either test fails, the opening blow whiffs and your model makes no further attacks for the rest of the Strike Step.
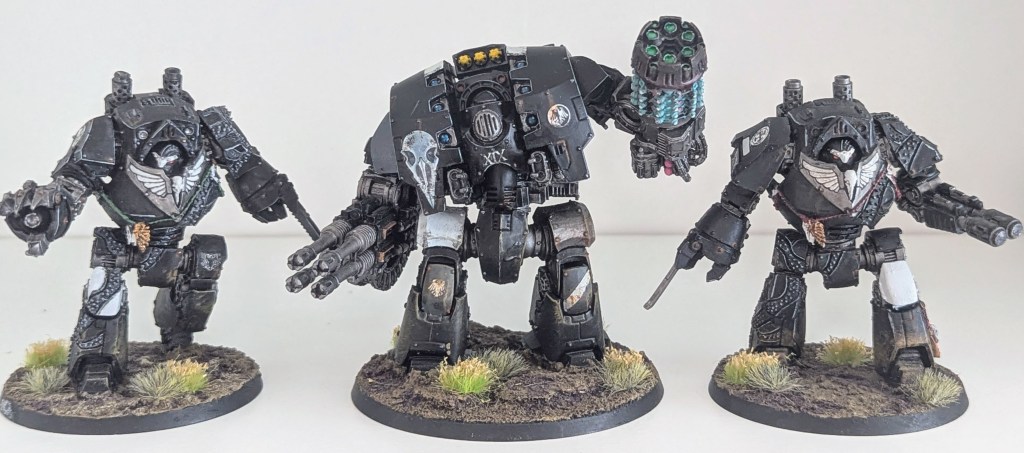
Top Tactical Tips & Lethal Combos
Here are my top tips and unit breakdowns based on what’s working on the table right now.
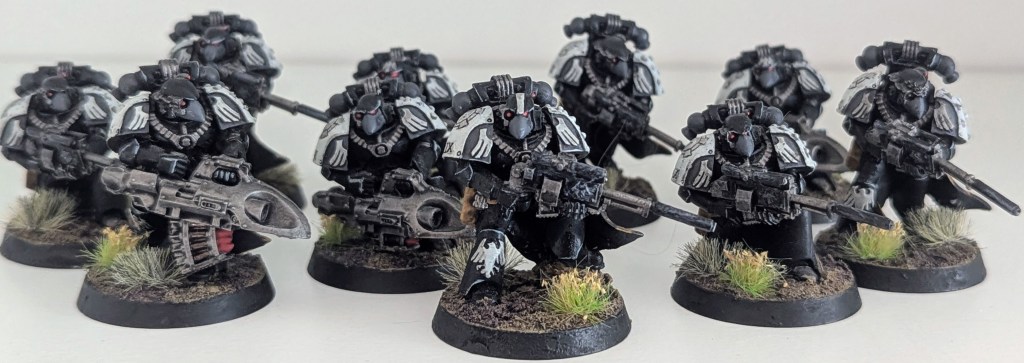
Tip 1: Mor Deythan Are Insane (The Ultimate “Sniper Engine”)
If there’s one unit that proves our shift toward ranged dominance, it’s the Mor Deythan. Their Fatal Strike special rule lets them land Critical Hits on 5+, which triggers Breaching for auto-wounds at Damage 2 (or Damage 3 if they haven’t moved).
- Versatility Upgrade: Throw a couple of missile launchers into the squad. Under Fatal Strike, those heavy templates become absolute character-erasing engines.
- Opening Turn Pressure: Fire off Fatal Strike in the first couple of turns while enemy units are outside the 18″ Shadow Walkers range. You get to maximize your damage output without risking a return-fire reaction from your opponent.
Tip 2: Heavy Support in Cover (The Unshakeable Backline)
I consider Rapier Batteries equipped with Laser Destroyers and squads of Heavy Lascannons absolute must-takes in my lists.
Tuck them into cover on deployment. Thanks to Shadow Walkers, any enemy counter-battery fire from beyond 18″ is forced to resolve as Snap Shots. They become almost impossible to shift, allowing them to sit back and pop high-value armor all game long while your forward units do the dirty work.
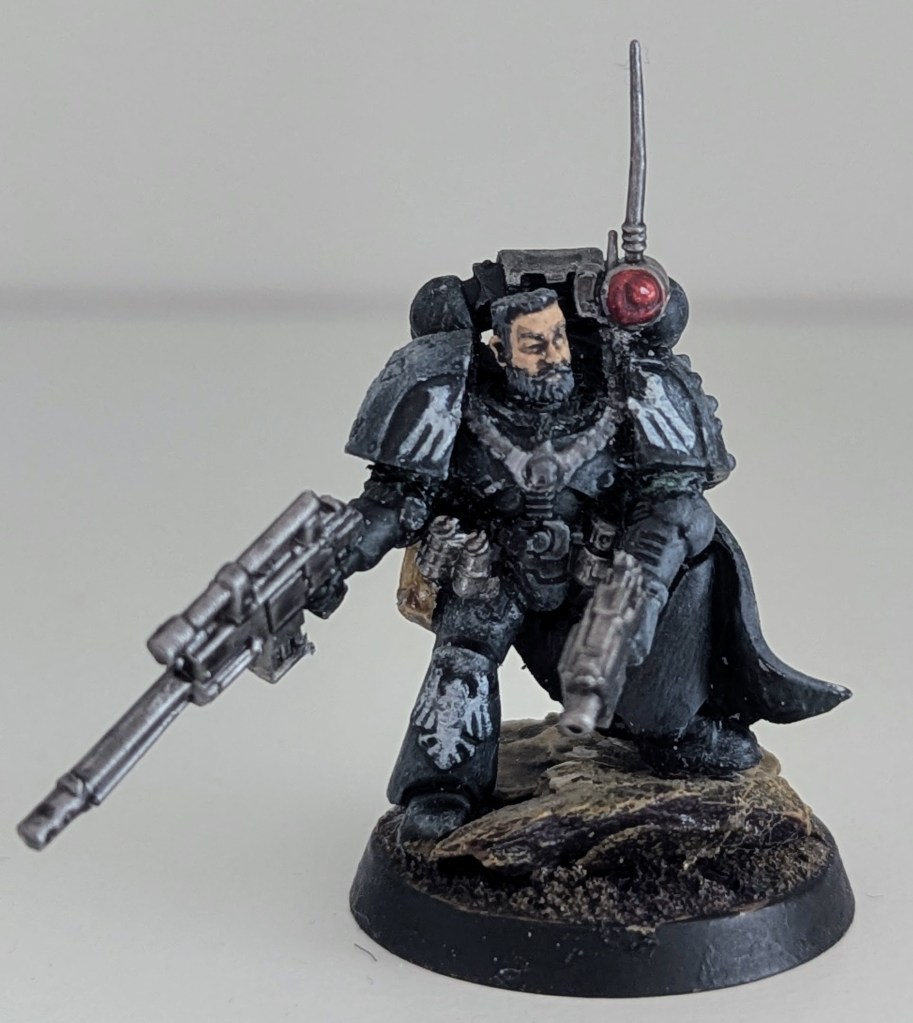
Tip 3: The Vigilator “Taxi”
Want to keep your Mor Deythan extra safe without blowing your best reaction? Add a Vigilator to the Mor Deythan squad.
The Vigilator grants the squad an innate 4+ Shroud, letting them sit out in cover or open ground with high survivability. More importantly, this saves your Shadow Veil Advanced Reaction for fragile, high-impact units like Dark Furies!
Tip 4: Dark Furies as Surgical Line Hunters
Because melee is no longer our primary damage engine across the board, you have to be deliberate with assault units. Dark Furies are fantastic models, but relying on their auto-wounding AP2 on 6s against multi-wound elite infantry or deathstars can be a big gamble.
Instead, I use them as Line Hunters:
The Play: Set up a Turn 2 charge into unsuspecting Tactical or Despoiler squads. They will chew through scoring units, clear objectives, and ruin your opponent’s board control while your gunline melts their heavy threats.
Deployment & Movement: Even though they don’t have innate Vanguard, their massive 14″ movement lets you deploy them on a flank and aggressively sweep around the board.
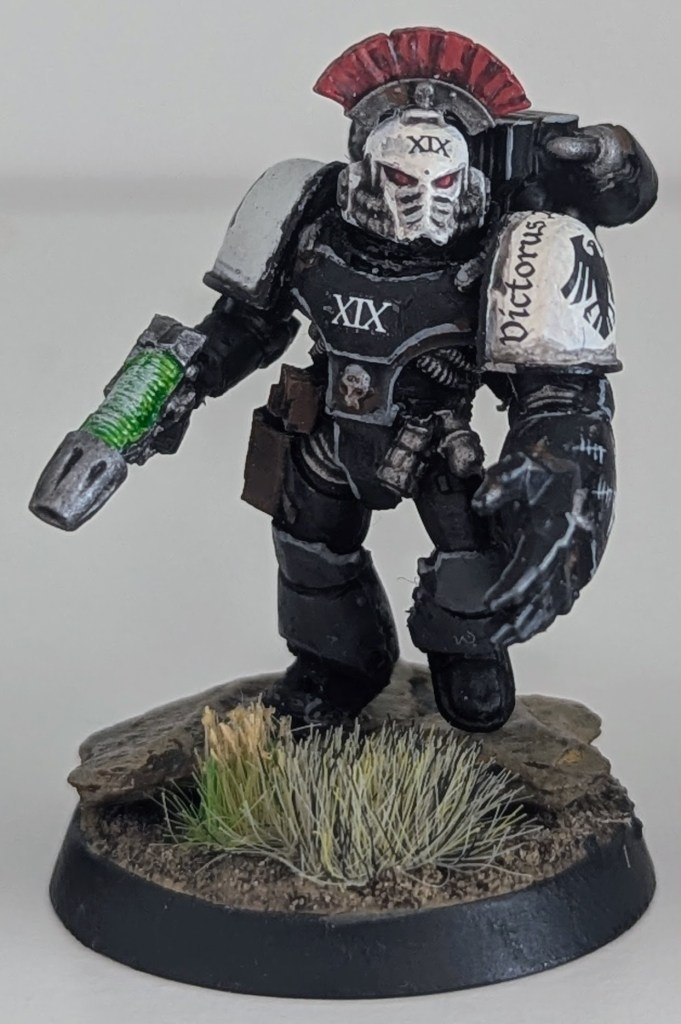
Tip 5: The Challenge-God Centurion
When melee does happen, make it count. Take a Centurion, give him the Paragon of Battle Prime Advantage and slap a Power Fist on him.
When you issue a challenge, declare the Decapitation Strike gambit. Hitting on 3s and wounding on 2s with Instant Death backing it up makes landing that single opening attack hugely reliable. If it hits, you delete the enemy HQ before they even get a chance to swing back at you.
Tip 6: The Master of Signals Force Multiplier
A Master of Signals is an incredible backup pick for tying your army’s synergy together. His ability to grant units Line or Vanguard makes your strike elements infinitely more flexible—and giving Vanguard to a unit of Dark Furies turns them into an immediate turn-one nightmare for enemy flanks.
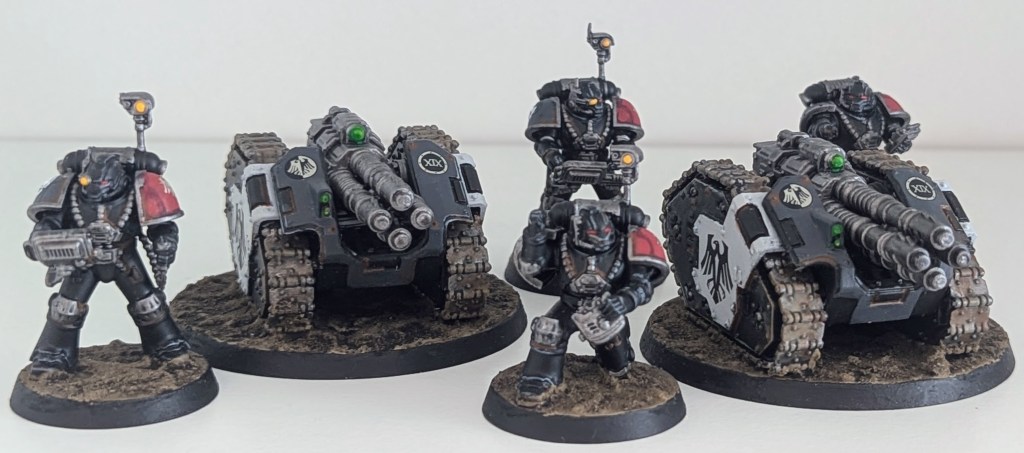
That’s my current take on running the XIXth Legion in 3rd Edition! It takes a bit of planning and unit synergy, but once you embrace the ranged control playstyle, there’s nothing quite like picking your opponent apart before they can ever get close enough to strike back.
Happy decapitating!
Tom

