
Stu’s first foray into clearing his backlog with some quicker techniques
I get a lot of abuse for being a slow painter – and it’s (mostly) warranted. A combination of a lack of time and a tendency to spend ages trying to get the perfect paint job means that there’s a lot of unfinished models needing some much needed love. Recently playing some Marvel Crisis Protocol has reignited my passion for gaming and I love seeing fully painted minis on the battlefield (even if they aren’t perfectly done which let’s face it no models are). So I’ve decided to experiment with some faster techniques to see if I can get some of the backlog cleared out and have some pretty minis to game with, starting with….
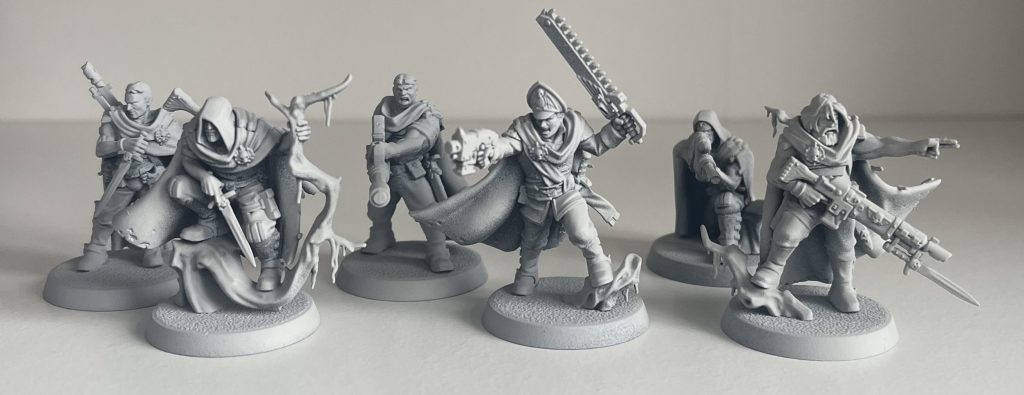
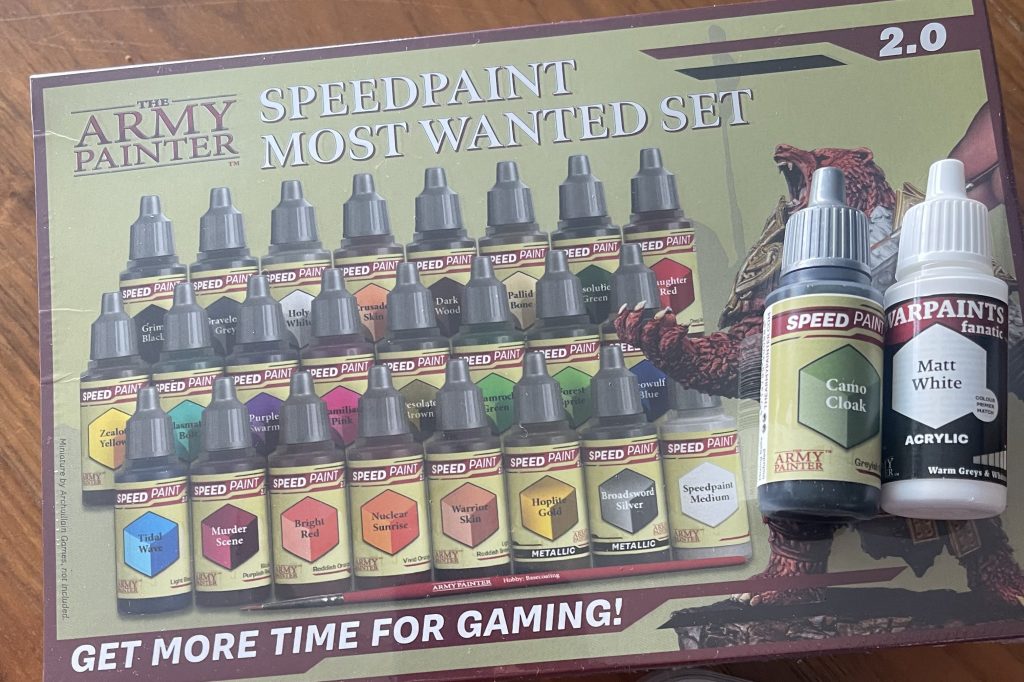
Gaunt’s Ghosts! I loved reading the books and when the models came out a while back I had to buy them, but since then they’ve been sitting unbuilt in their box. They are well overdue being built and painted and so I thought I’d use them to experiment on with some faster painting techniques. I’ve recently read a lot about ‘slap chop’ style painting and also the ‘Army Painter Speedpaints 2.0’ and thought I’d pick some up and give it a try. Plus if this works I can blame the paints, not me, for my being such a slow painter in the past!


I wanted to experiment with just the speed paints (except for the base) and so didn’t let myself do any layering, washes or edge highlighting with other paints. The only paints I used were the speedpaint 2.0 ones. This was a bit awkward for a couple fine detail bits but I wanted to properly try out the paints and finish the minis with just them. I was really pleasantly surprised by the paints and really happy with the overall finish. There were some teething issues and with more practice with the paints I reckon I’ll get a much better finish. Here’s some tips and tricks I learnt along the way:

Tips & Tricks
- Use a big brush. Smaller brushes result in a streaky look. You really want to lather the paint on for a smoother finish. Also it was a good challenge for my brush control using a larger brush than I would usually pick.
- Paint quickly! The paint dries pretty quickly and once it starts drying you can’t go back over it without messing it up. Meant I made a couple mistakes here and there but with better brush control this is less of an issue. Plus the whole point of this challenge was to paint faster!
- Use light colours first. This lets you get away with a couple mistakes here and there. The darker colour doesn’t always perfectly cover the lighter but it does a good enough job.
- Trust the process. I thought a couple of paints looked too thin or odd when I painted them on. But as they dried they came together nicely.
- Prime them with a colour you have the paint for! I primed them with the GW Grey Seer Undercoat as that’s what I had to hand. The main problems was I couldn’t paint back over any mistakes. Next time I will get the Matt White Army Painter Primer as it has a proper match with a paint too. This will make mistakes less painful!
- You can mix colours. I wasn’t sure if this would work as they are a different formulation to normal paints but it worked out fine. For the fatigues I wanted a darker blue look than just the Beowulf Blue I got with the set. I mixed it 50:50 with the Grim Black and it turned out nicely in to a dark blue.

Final thoughts
I really loved using these paints. They gave a great effect with very minimal effort. Also having to work quicker and with a bigger brush has challenged me to improve my brush control and should (I hope) make me a better painter over time. I will use these paints again for sure but will probably also use more standard paints too to add little highlights or details here and there. I can’t wait to try more colours out and see how it works on different models. Watch this space!
Stu.
